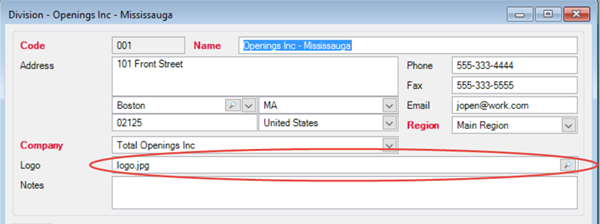
Save your logo file to the Common folder for use by various reports. At the moment, selecting a logo file in the Division form does not copy the file from the source location to the Common folder, so this needs to be done manually. Once the logo is in the common folder, set the logo file for each division in the Division window.
To access the Division window, in the Enterprise left-hand Navigation menu:
- Click System Options
- Click Division
The rectangle which holds the logo is 2.5"W x 1"H and set to resize proportionally.
This means that a graphic that is larger will be scaled down to fit in the box, and a graphic that is smaller will be scaled up to fit.
For the best clarity it is recommended that the logo be saved with at least one dimension matching the required height or width, thus removing the need for resizing and quality degradation.
The resolution of the image should be high enough to give a good printed result, ideally 150 or 300 dpi.
Supported image formats include PNG, Jpeg, Bitmap.
The location of the logo can be a tricky thing to get right as well.
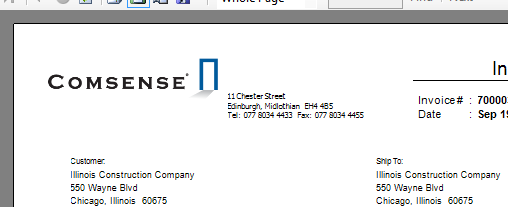
In the first screenshot below, our logo is much wider than it is tall. The report layout is setting the logo to the top of the 2.5x1 image box, which doesn't line up very nicely with the address beside it.
This can be corrected by saving the graphic to a full 2.5x1 even though the contents don't actually take up these full dimensions.
To achieve this with our logo I have added a rectangle around the logo in my graphics program that is exactly 2.5.x1" as seen below.
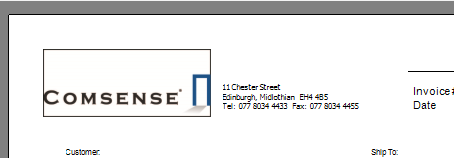
So now, using some white space I have positioned the logo where I want it within the 2.5x1" box.
Depending on the graphics program used, saving this image without the rectangle will put us back to square one with a short and wide graphic. This is by design as they see empty white space as a waste of storage, which it is. However, I need the white space for alignment, but I don't want the black rectangle. So in my graphics program I will change the color of the rectangle to be almost completely blank with only 1% of black used. This way the export or save of the graphics program will keep my desired white space but it won't be visible to the eye.
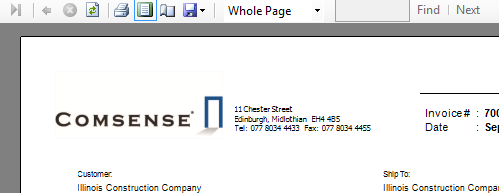
Now you've got the look you want, in the specific location.
Comments
Please sign in to leave a comment.