How to: Create a payable for a purchase order.
Environment: Comsense Enterprise
In this article:
- Accessing Payable
- Processing a New Payable
- Filling in Payable Information
- Updating the Payable Status Field
Accessing Payable
In the Enterprise left-hand Navigation menu:
- Click Payables
- The Payable menu will expand

- Click Payable
You are now ready to create your new payable.
Creating a New Payable
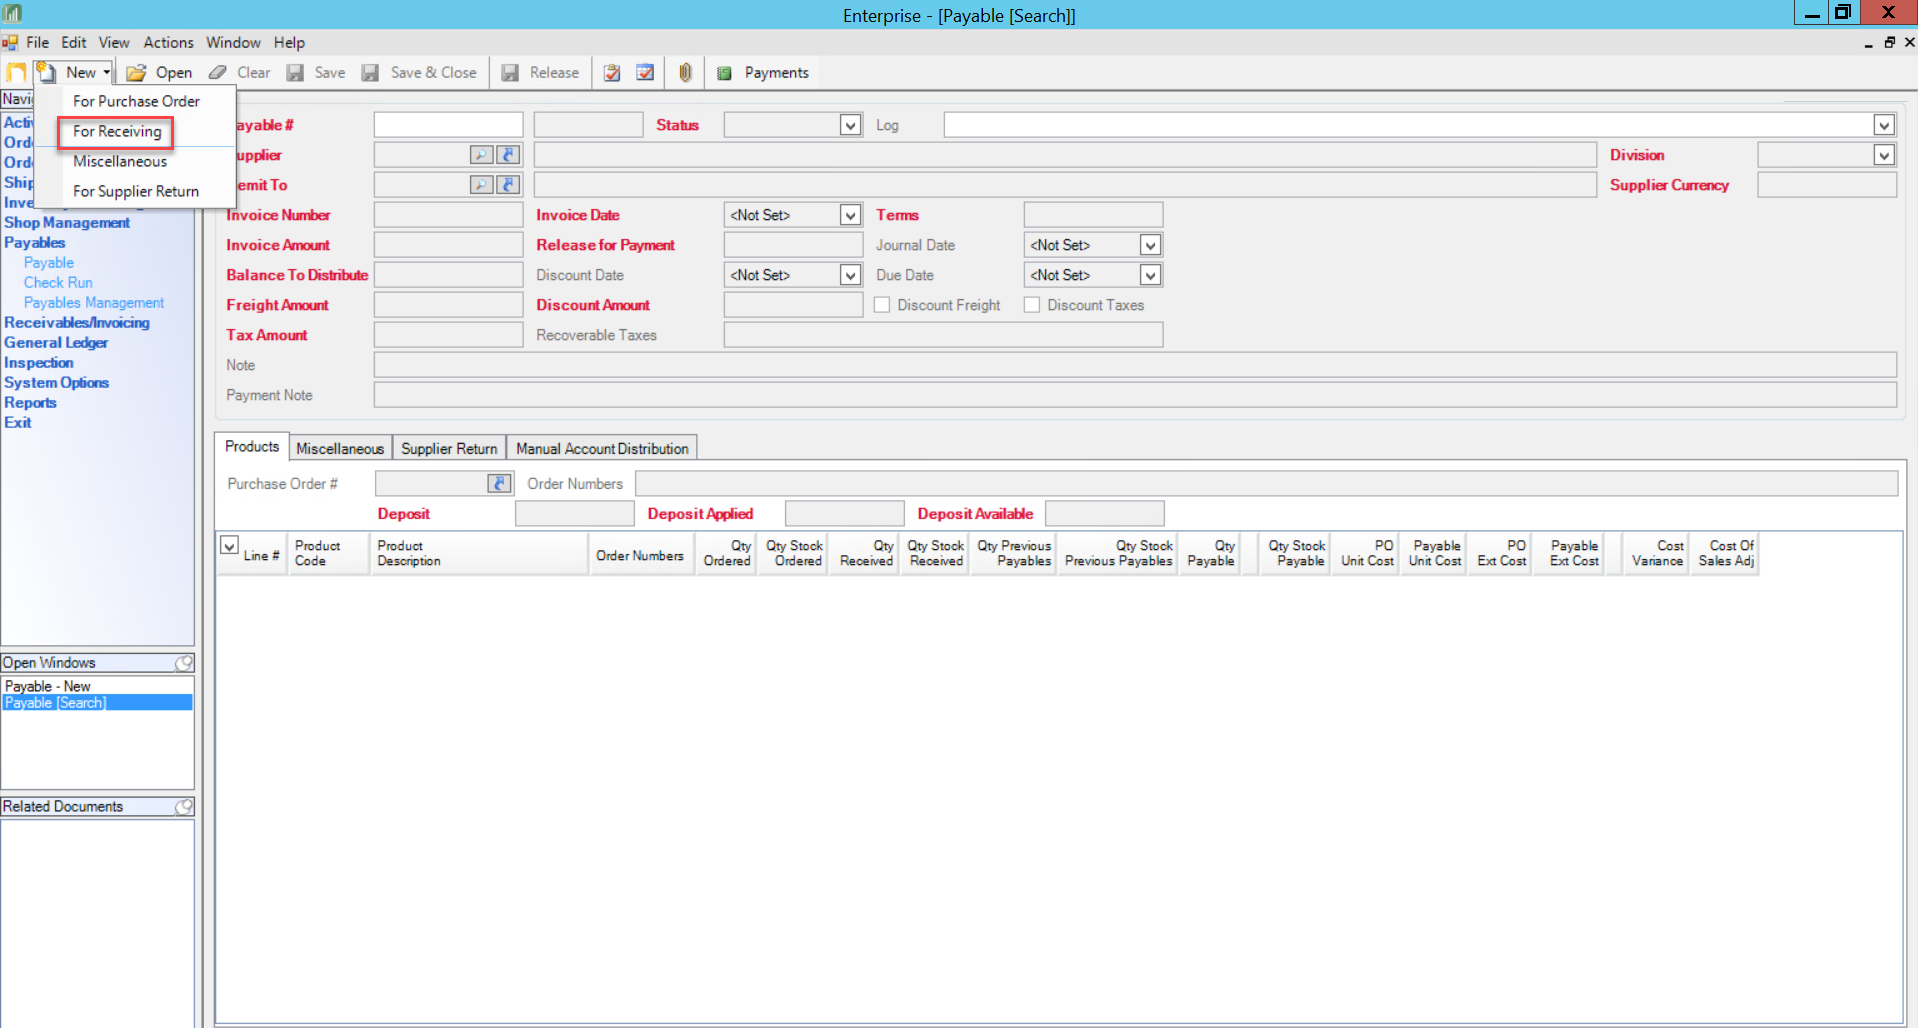
In the Payable window top toolbar:
- Click New
- Select For Receiving
- The Find window will open
- Search and Select the purchase order by either:
- Purchase order list
- Click Find Now
- Purchase order information
- Enter purchase order information and Click Find Now
- Purchase order list
- Click Open
- The Payable window will populate
You are now ready to fill in the invoice information for the payable.
Filling in Payable Information
Vendor Invoice Information
In the Payable window fields:
- Enter the Vendor Invoice Number
- Enter the Vendor Invoice Date
- Enter the Vendor Invoice Amount
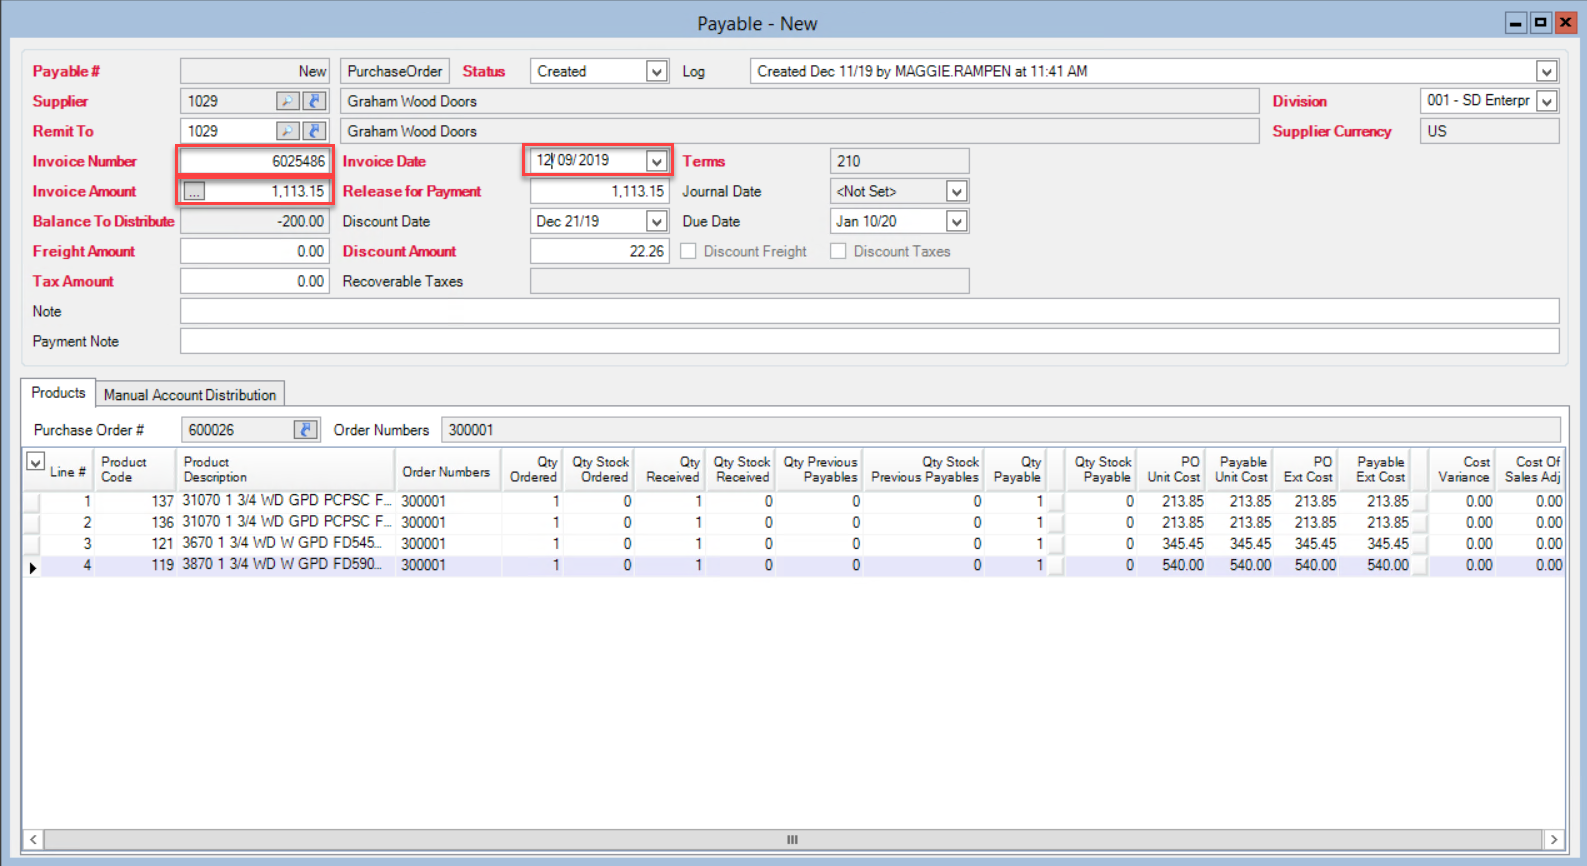
You are now ready to enter the freight amount.
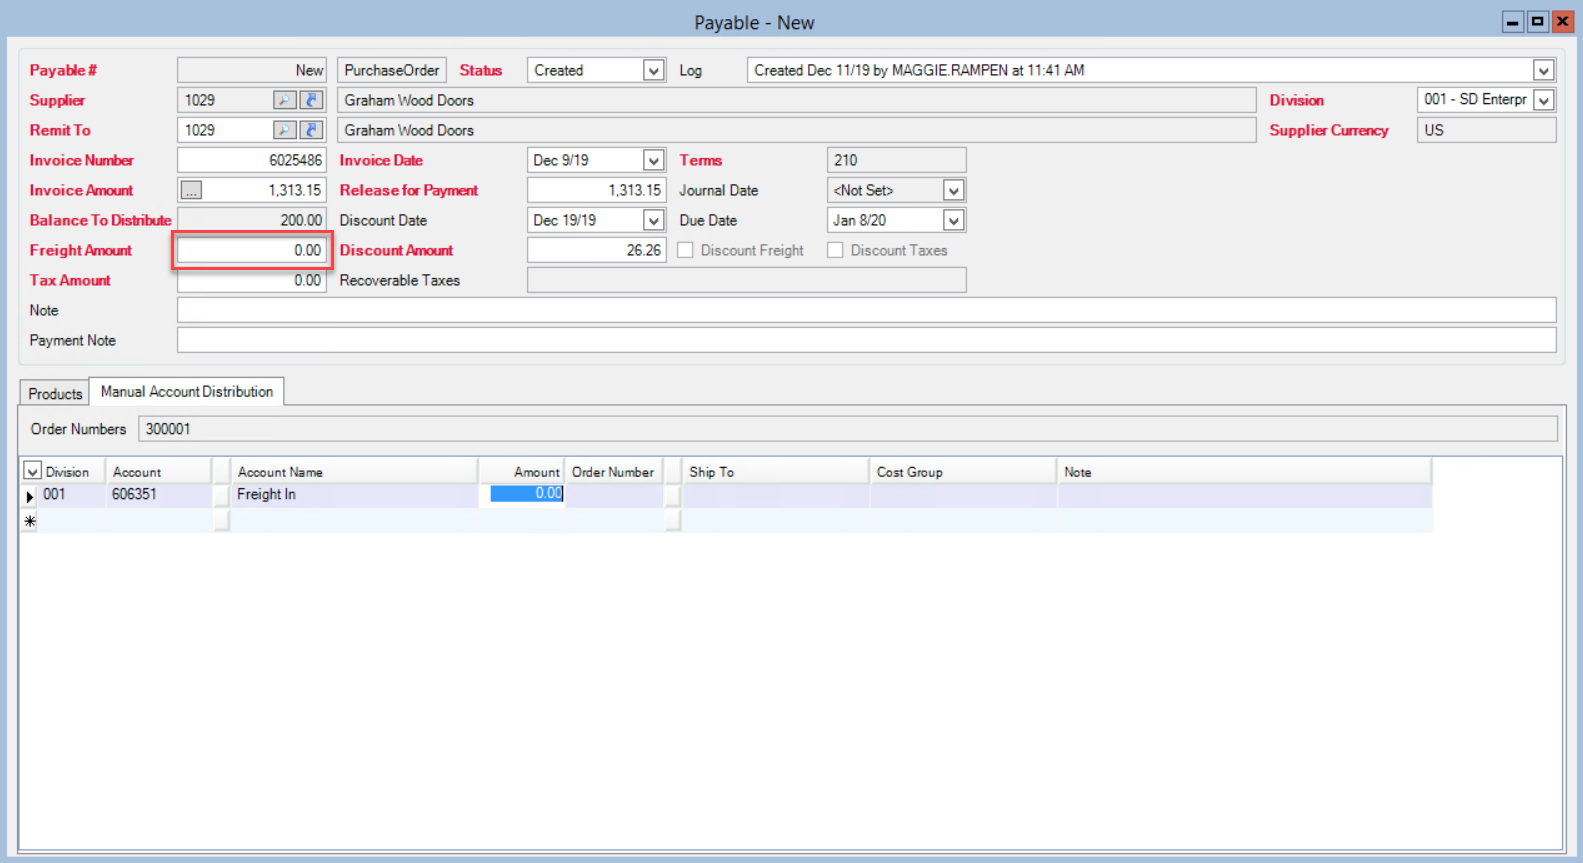
Freight Amount
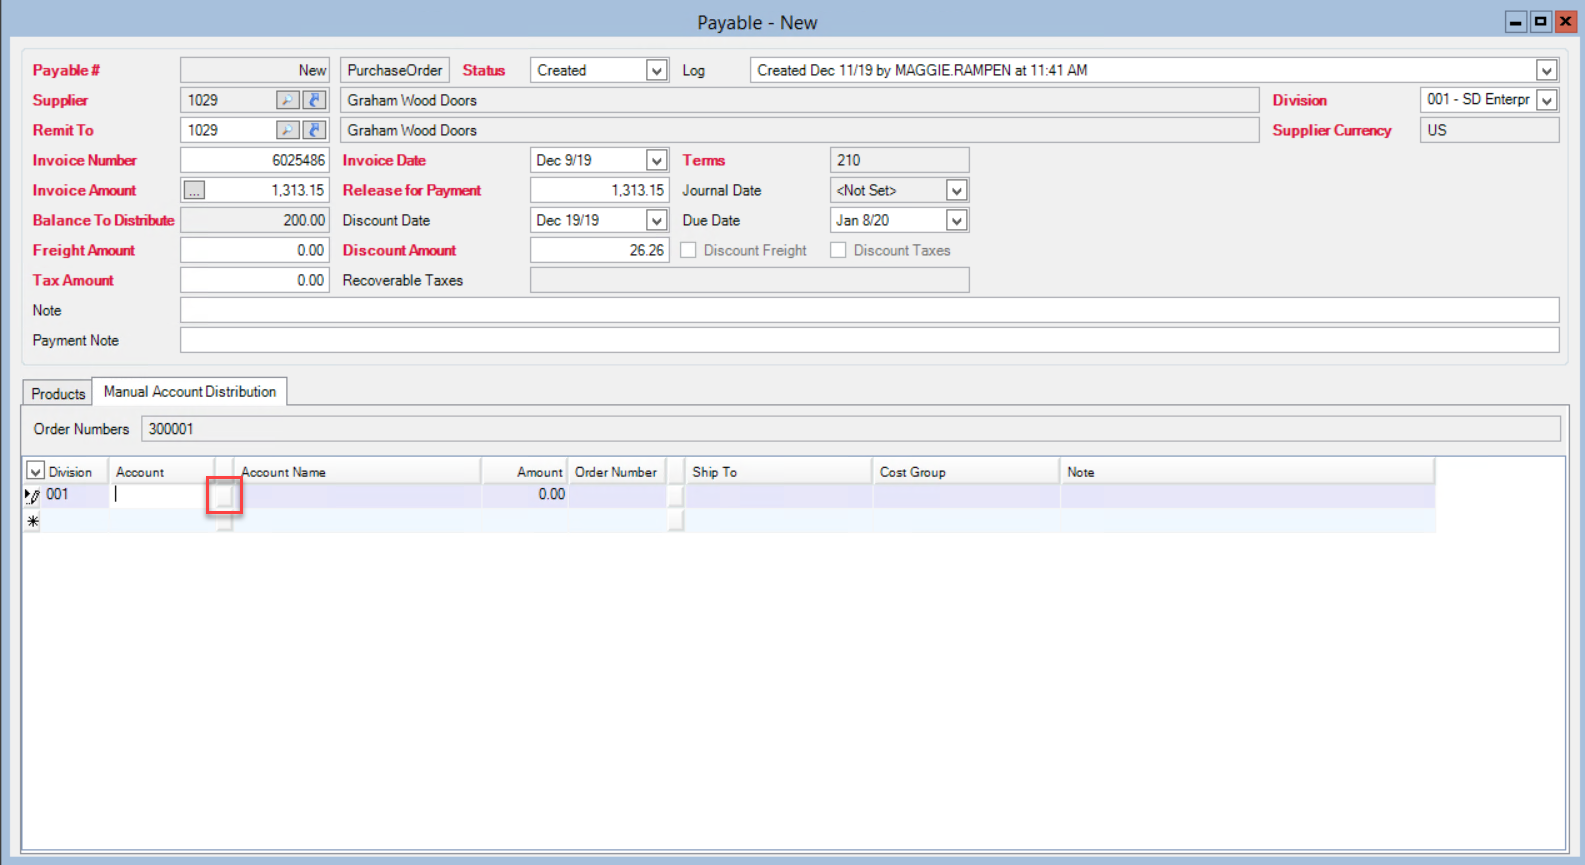
All freight information goes under the Manual Account Distribution tab. To begin entering the freight amount, Click the Manual Account Distribution tab.
Selecting a General Ledger Account
In the fillable line item:
- Select the appropriate division
- Click the Select Account button
- The Find Account window will open
- Search and Select account by:
- Account list
- Click Find Now
- General Ledger account information
- Enter information and Click Find Now
- Account list
- Click Open
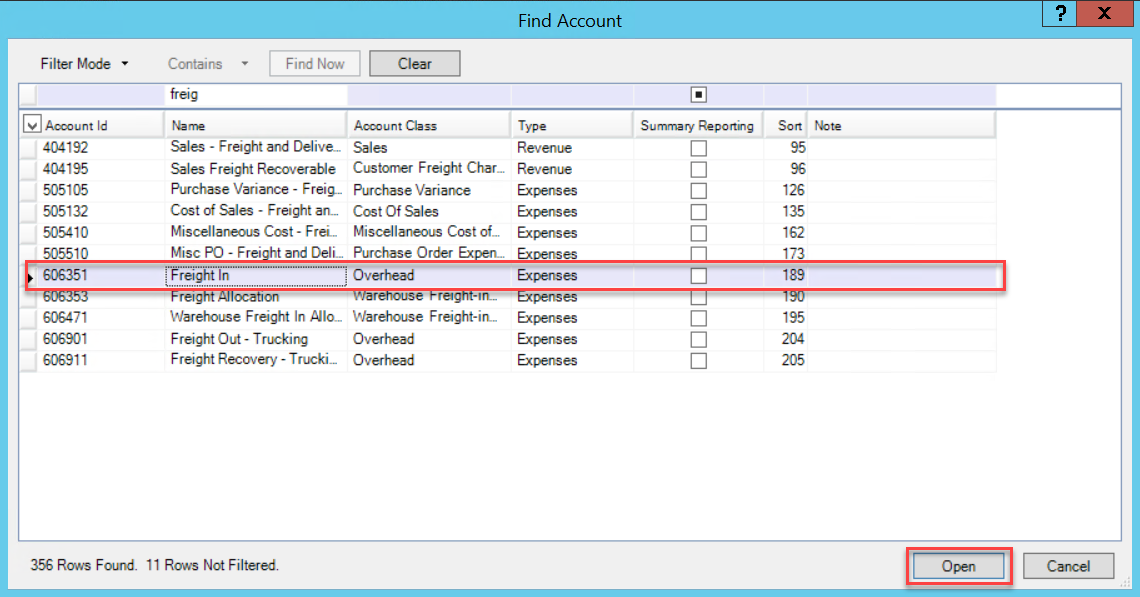
You are now ready to enter the line item information.
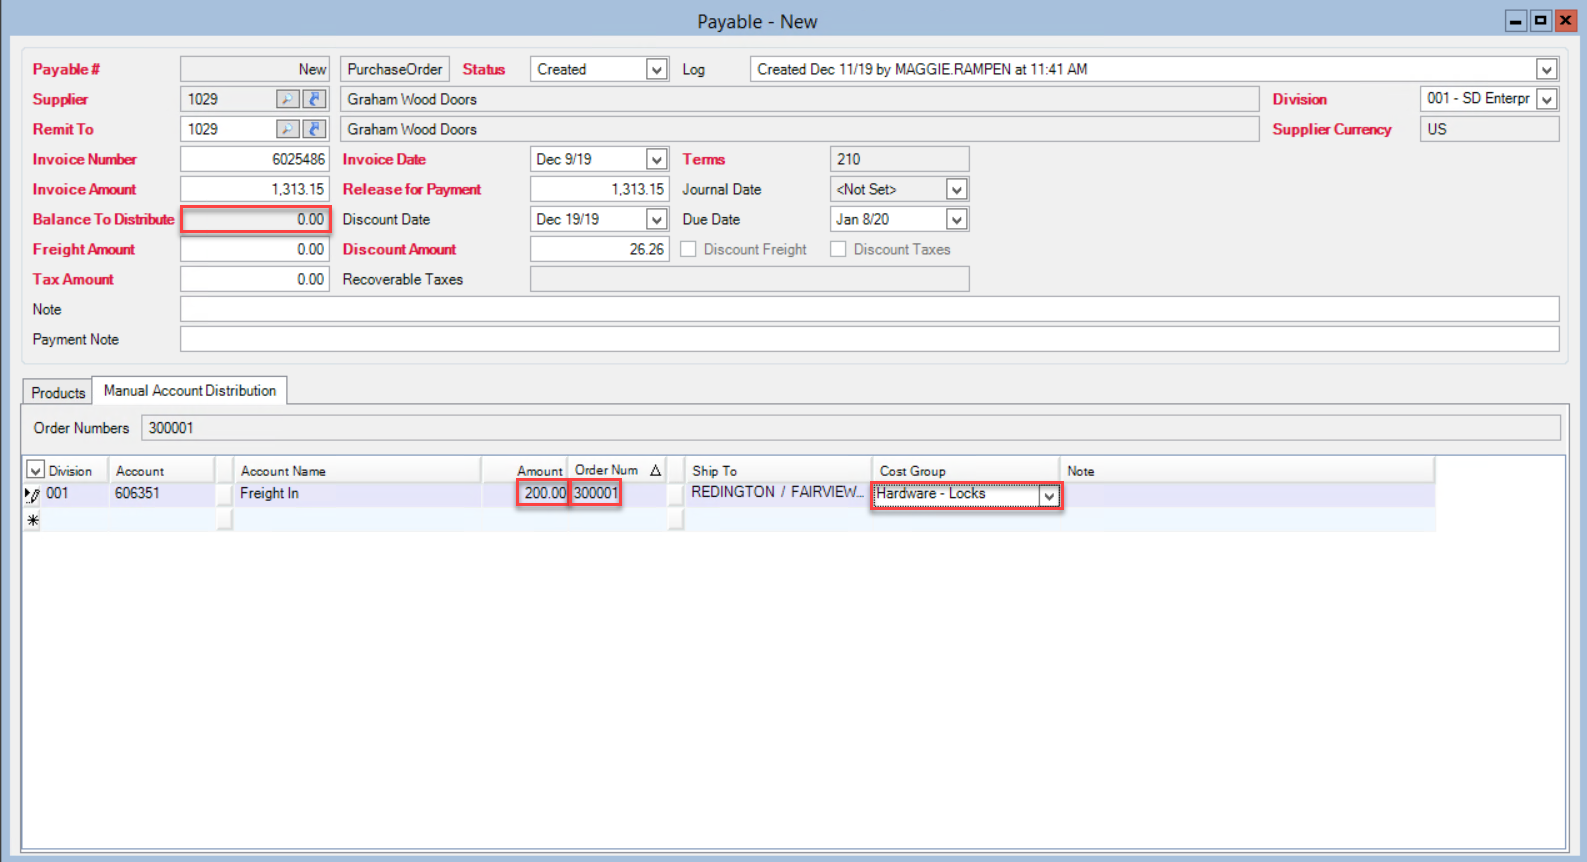
Entering Line Item Information
In the fillable line item under the appropriate columns:
- Enter the amount
If this is for a specific job:
- Search and Select the order number by:
- Order number
- Enter the order number and Press Tab
- Order information
- Click the Select an Order and Search the order
- Order number
- Select a cost group
- If you select an order number, you must select a cost group
- Click Save
The payable status will automatically change to Open.
Excluding the Freight Amount from Discounts
Discount Amount, Discount Date, and Discount Due Date automatically populate using the supplier terms that are in the system. If there is a discrepancy between these fields and the invoice, manually update the fields to match.
Filling in the Freight Amount removes the freight total from discount calculations. If the vendor excludes the freight amount from a discount, enter the freight total in the Freight Amount field.
Adding Recoverable Taxes
Only add the tax amount if it is a recoverable tax. Recoverable tax amounts only apply to Canada at this time.
You are now ready to update the payable Status field.
Updating the Payable Status Field
The Balance to Distribute field should be 0.00. If your remaining balance is not 0.00 and you correctly completed all procedures above, Distribute the Remaining Balance before proceeding.
In the Status field:
- Select the appropriate status using Table 1
Click here to expand Table 1
| Payable Status | Stage of Payable Process | Prompt | Status Change |
|---|---|---|---|
| Created | New Payable Created | Click New | Automatic |
| Open | Waiting for approval to payout the supplier | Click Save | Automatic |
| Released | Before check run | Manually Select from Status field drop-down options | Manual |
| Completed | Check run is complete | Complete check run | Automatic |
| Deleted | Payable not approved or disputing the invoice | Only from Open status | Manual |
- Click Save
You now have a payable for your purchase order.
Comments
Please sign in to leave a comment.