How to: Create groups of hardware options for user-maintained products by manufacturer.
Purpose: Save time applying options to user-maintained products by adding the product to a group rather than individually selecting each option.
Environment: Advantage
In this article:
- Understanding Option Groups
- Creating a User-Maintained Product
- Adding an Option Group
- Assigning the Option Group to a User-Maintained Product
- Adding Options to the Option Group
Understanding Option Groups
Product options include:
- Product changes
- E.g. finishes security grades, knobs, handle sets, and levers
- Product add-ons
- E.g. strikes, latches, keying, fasteners, voltages, coatings, and cutouts
Product options vary by manufacturer. Before creating your option groups, you must determine what options you want to group together based on the product you apply the options to. Review the manufacturer catalog and price list before proceeding with this article.
Creating a User-Maintained Product
In this procedure, you create an option group for a user-maintained product. User-maintained products:
- Are only made in the Hardware Grid
- Do not include special products
You can update special products to include options by manually removing the special product status.
Accessing Hdw Grid
Advantage > Catalog Maint. > Hdw Grid
Making a Special Product Available for Options
In the Hdw Grid window:
- Click the Checkmark above the filter line item
- The Hdw Grid pane will populate
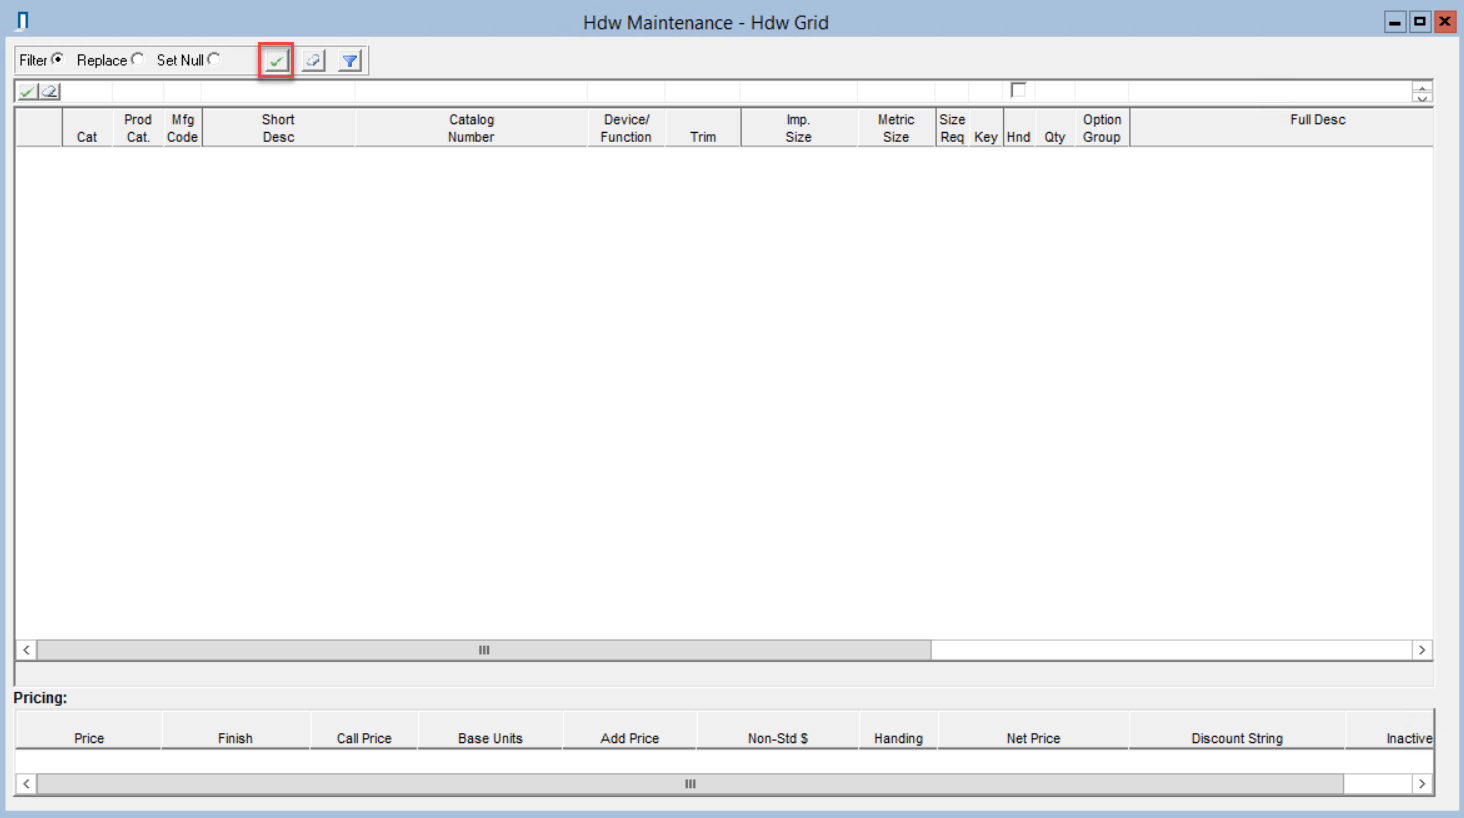
- Find the special product
- Scroll to the right of the Hdw Grid pane
Under the Special Product column:
- Uncheck the checkbox
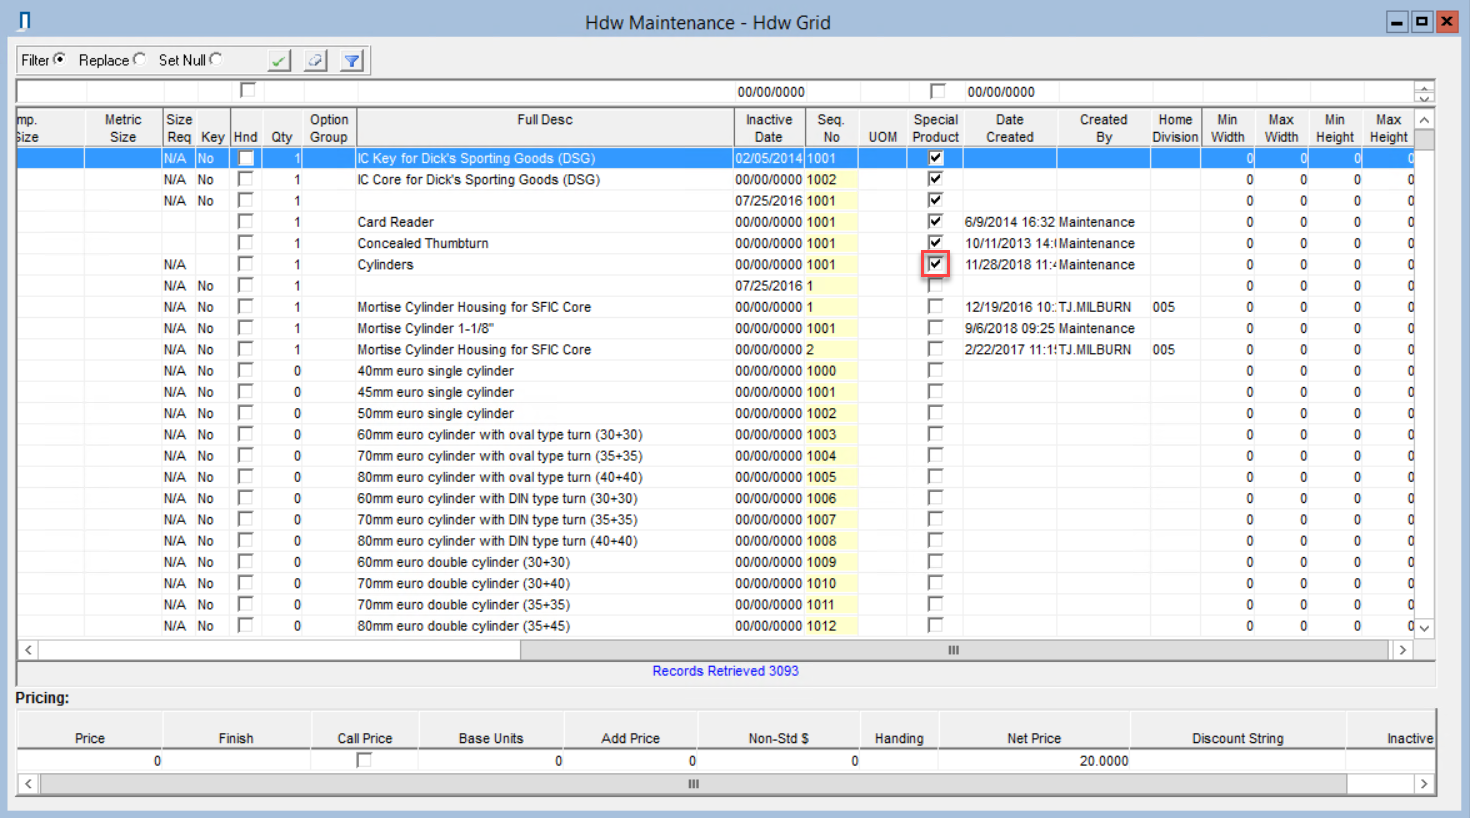
- Click Save
The special product can now have an option group assigned to it.
Adding a User-Maintained Product
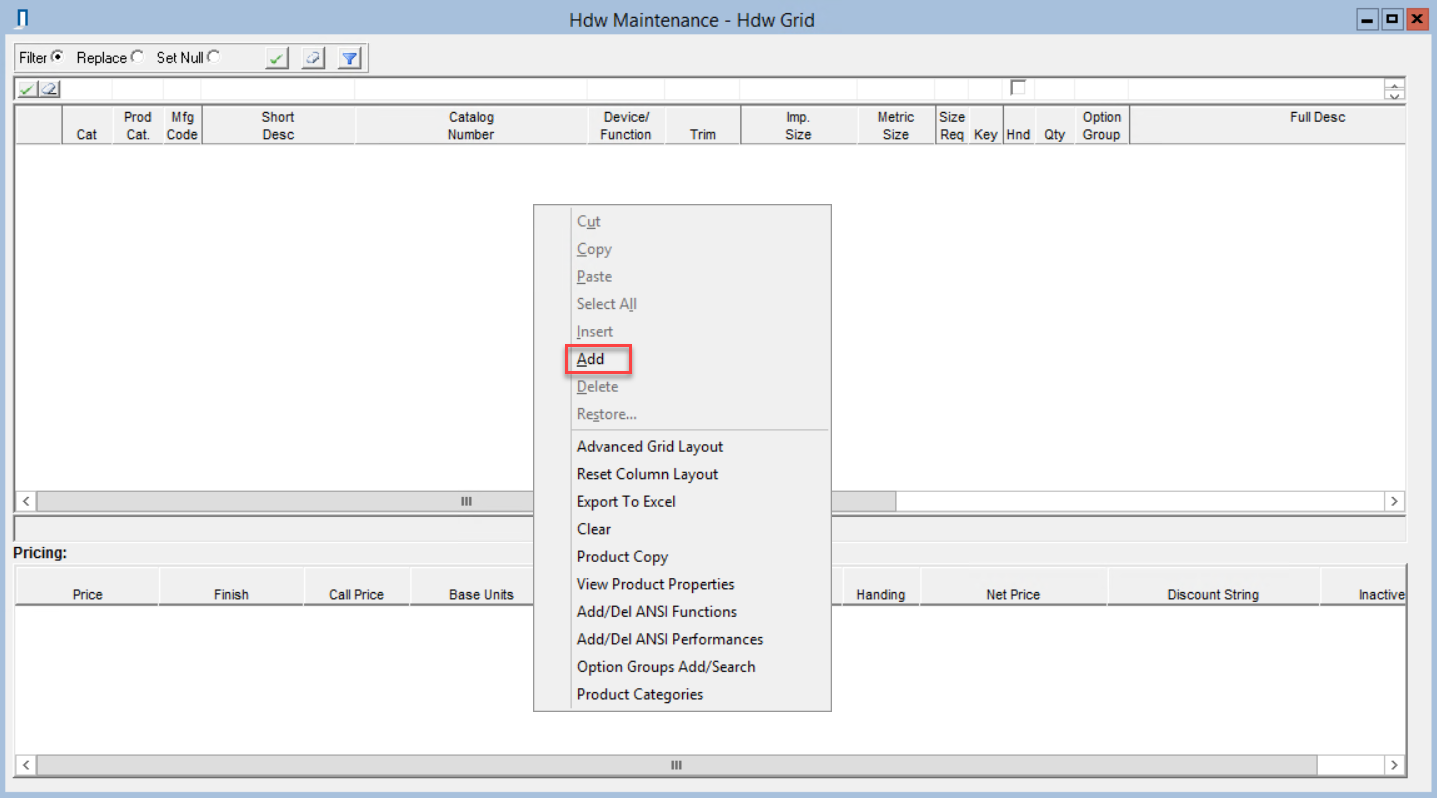
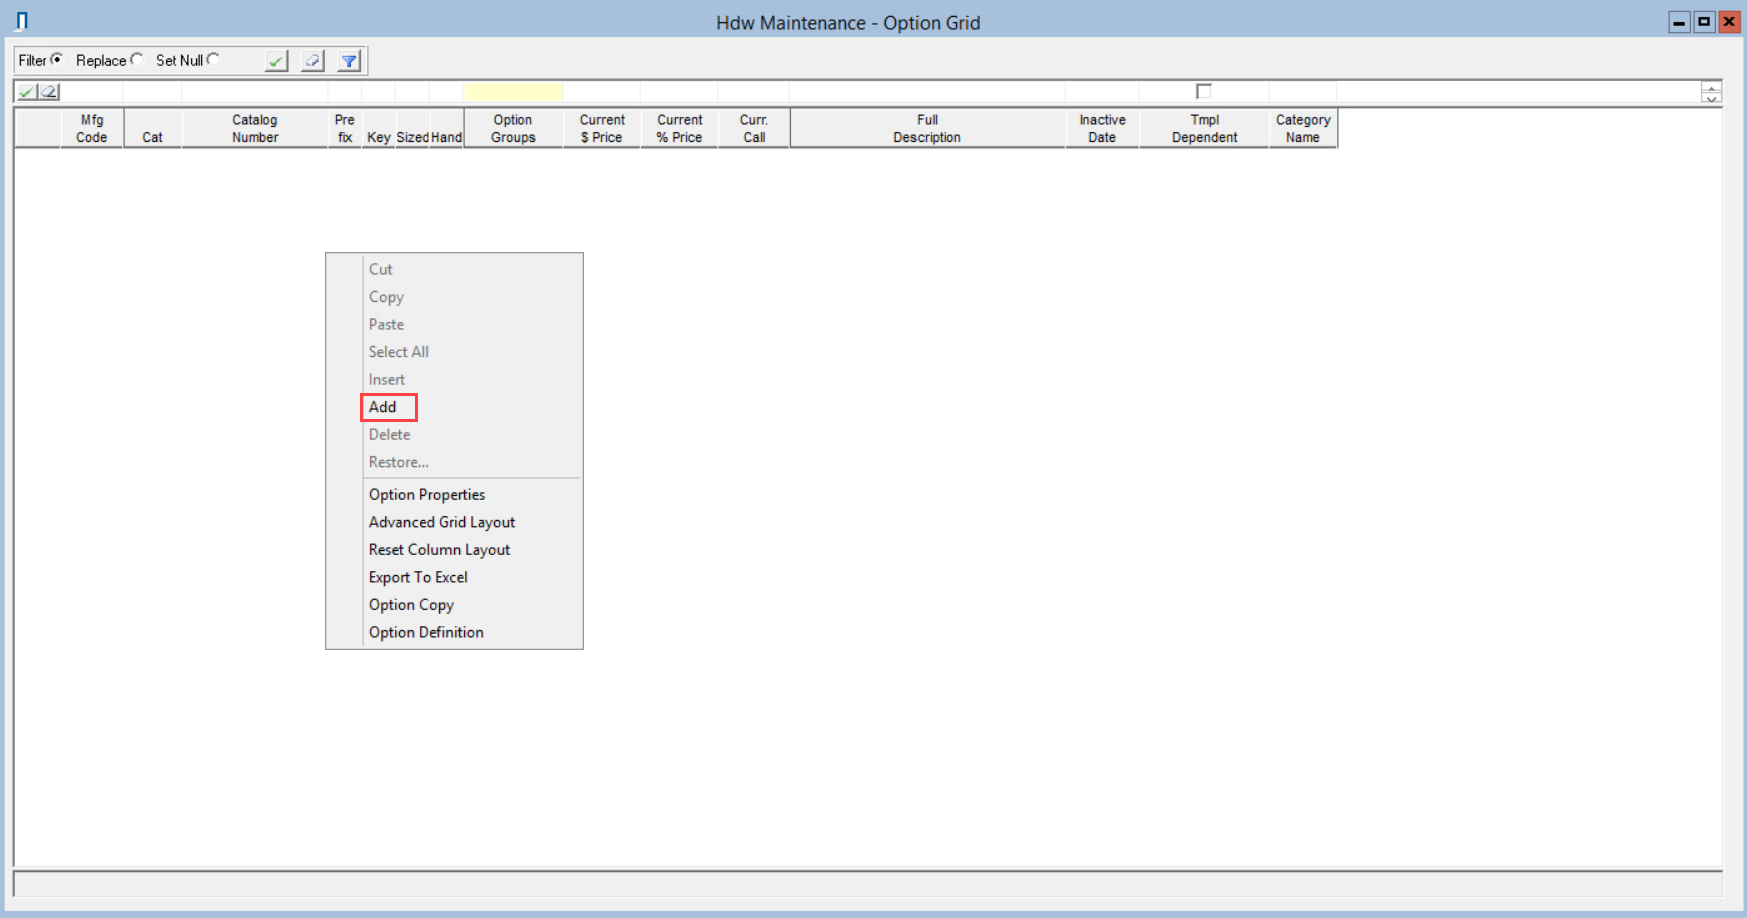
In the Hdw Grid window:
- Right-click the empty Hdw Grid pane
- Click Add
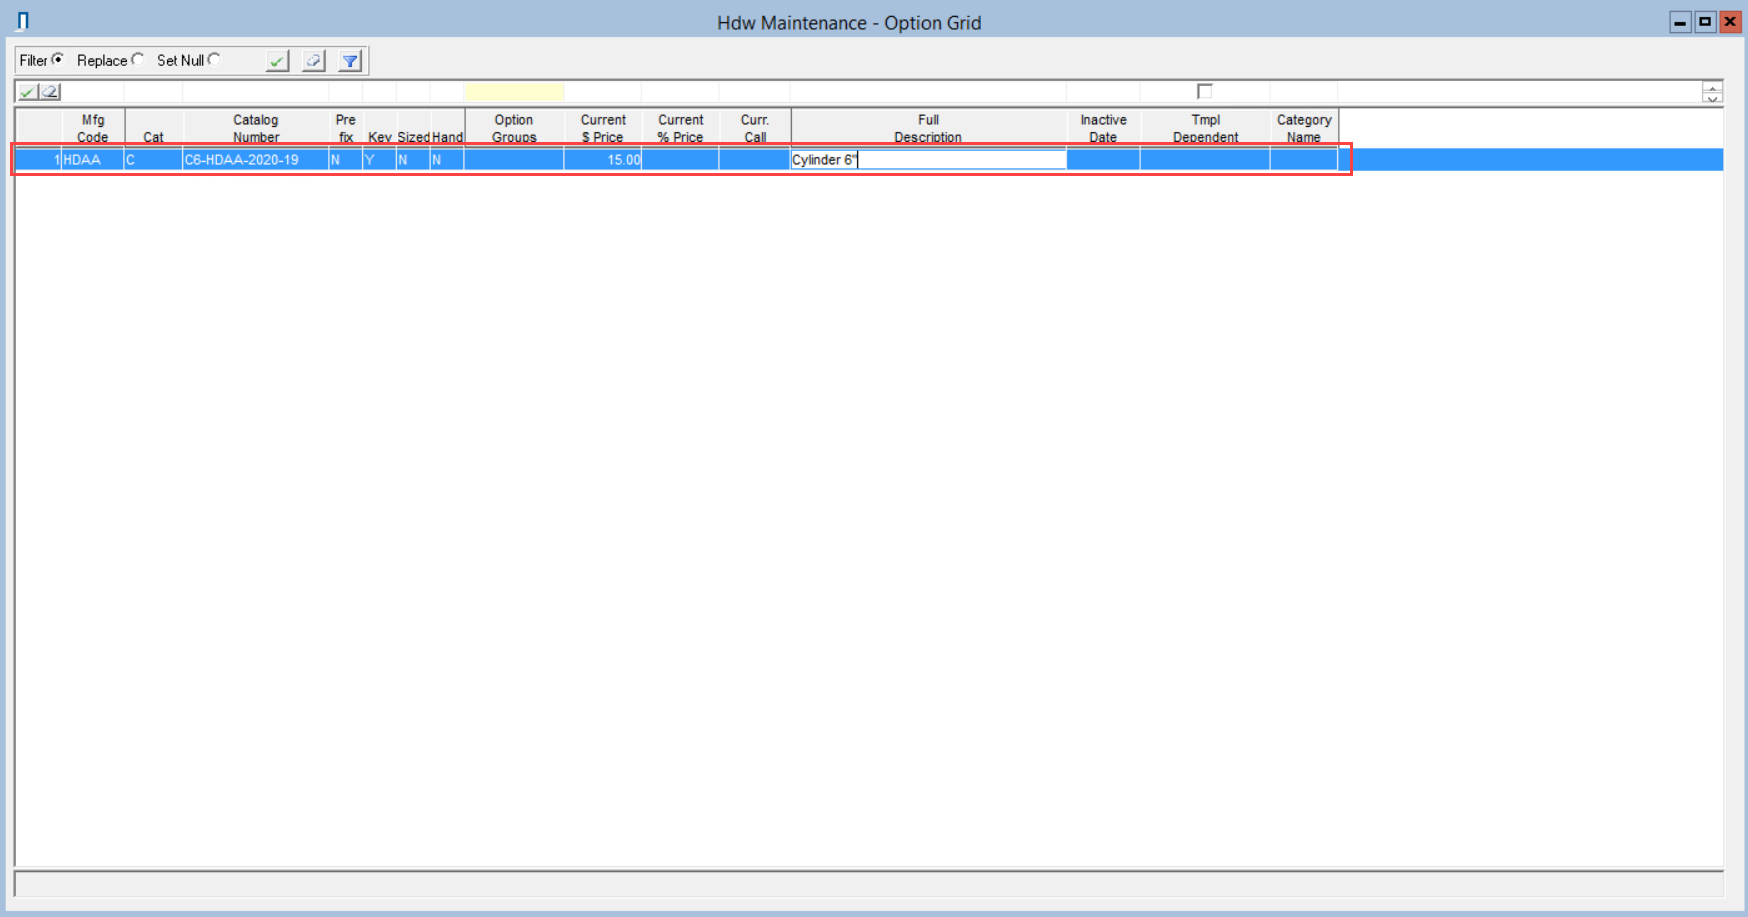
In the new blank line item:
- Fill in all applicable fields for the user-maintained product
- Click Save
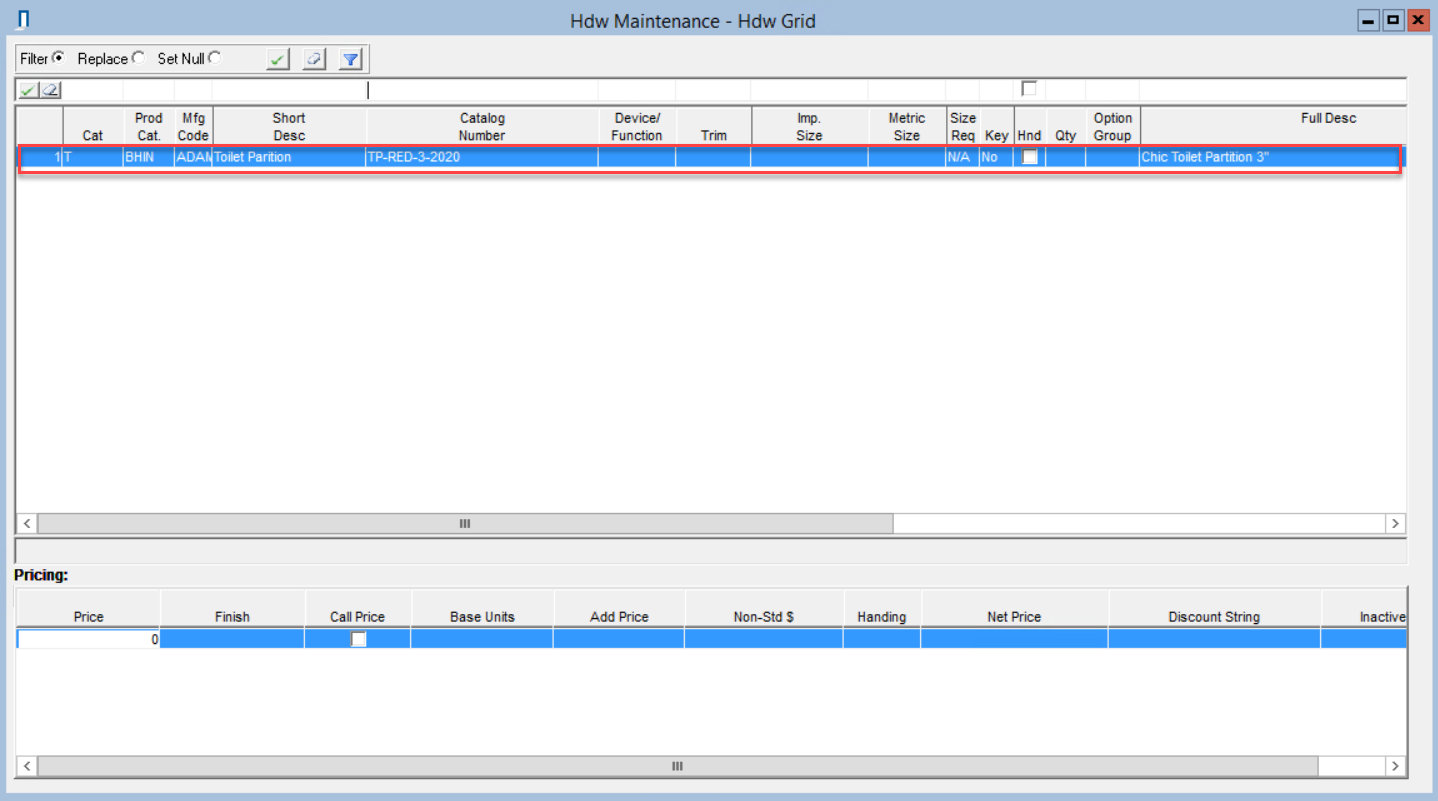
You now have a user-maintained product.
Adding an Option Group
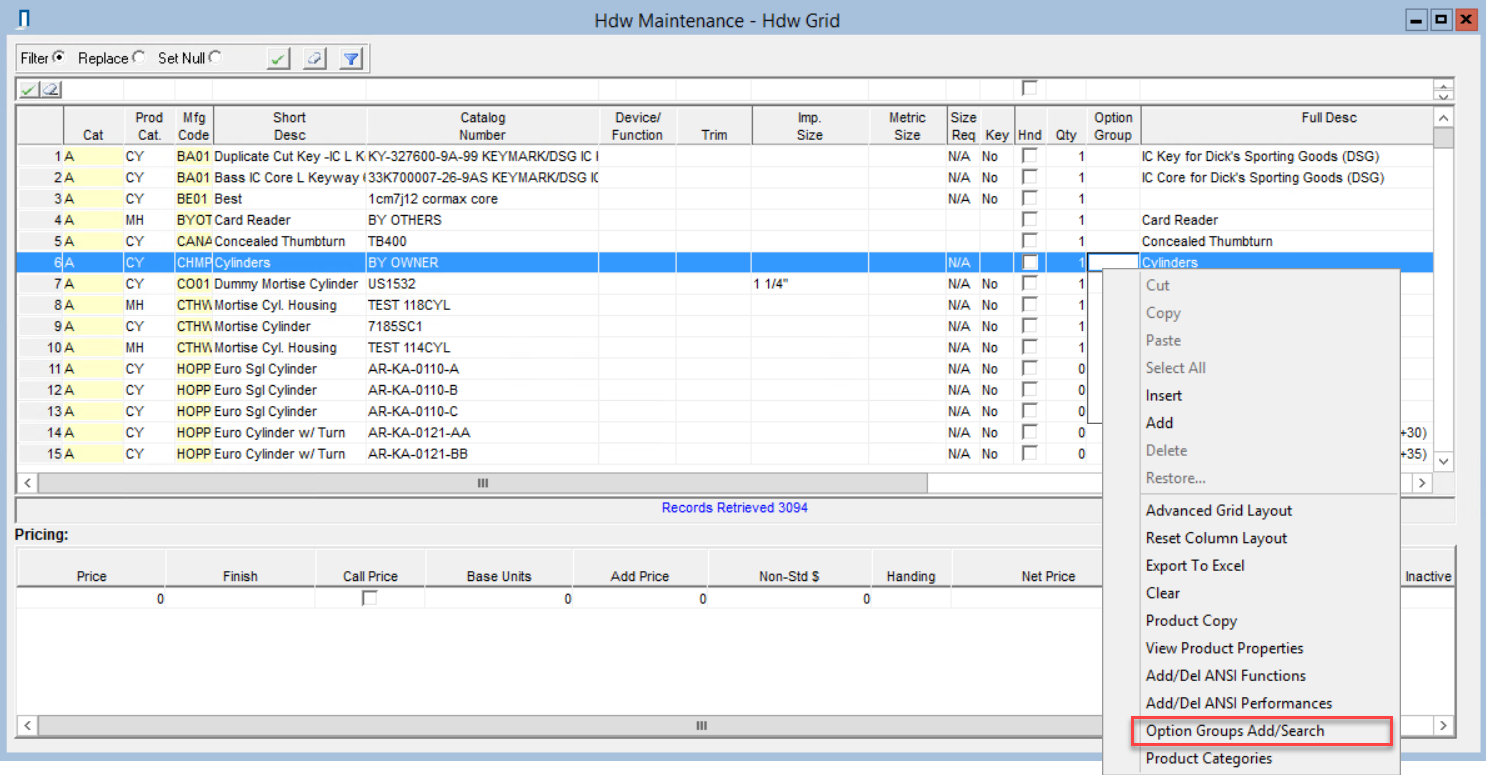
On the user-maintained product line item:
- Right-click in the Option Group field
- Click Option Groups Add/Search
In the Option Group Definition window:
- Enter the group #
- Enter the group description
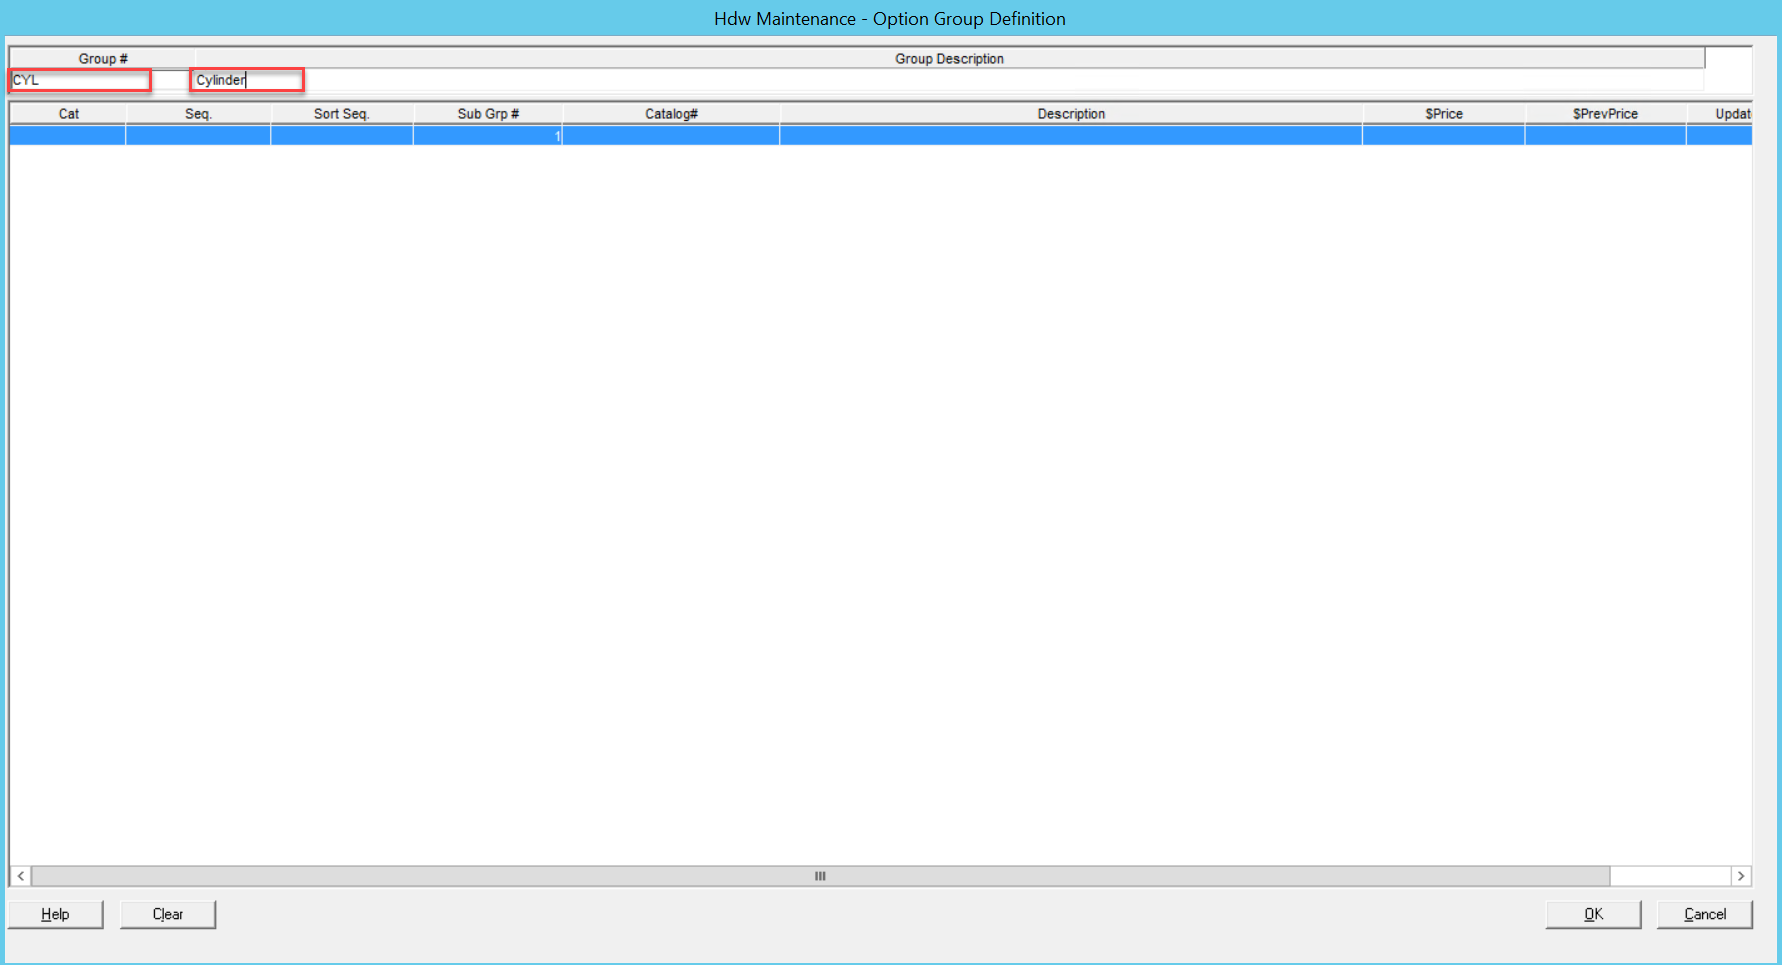
- Click OK
*Note: Do not fill in any information on the lower line item. You will not be able to click OK.
You now have an option group.
Assigning the Option Group to a User-Maintained Product
In the Hdw Grid window:
- Find the user-maintained product
- Select your option group under the Option Group column
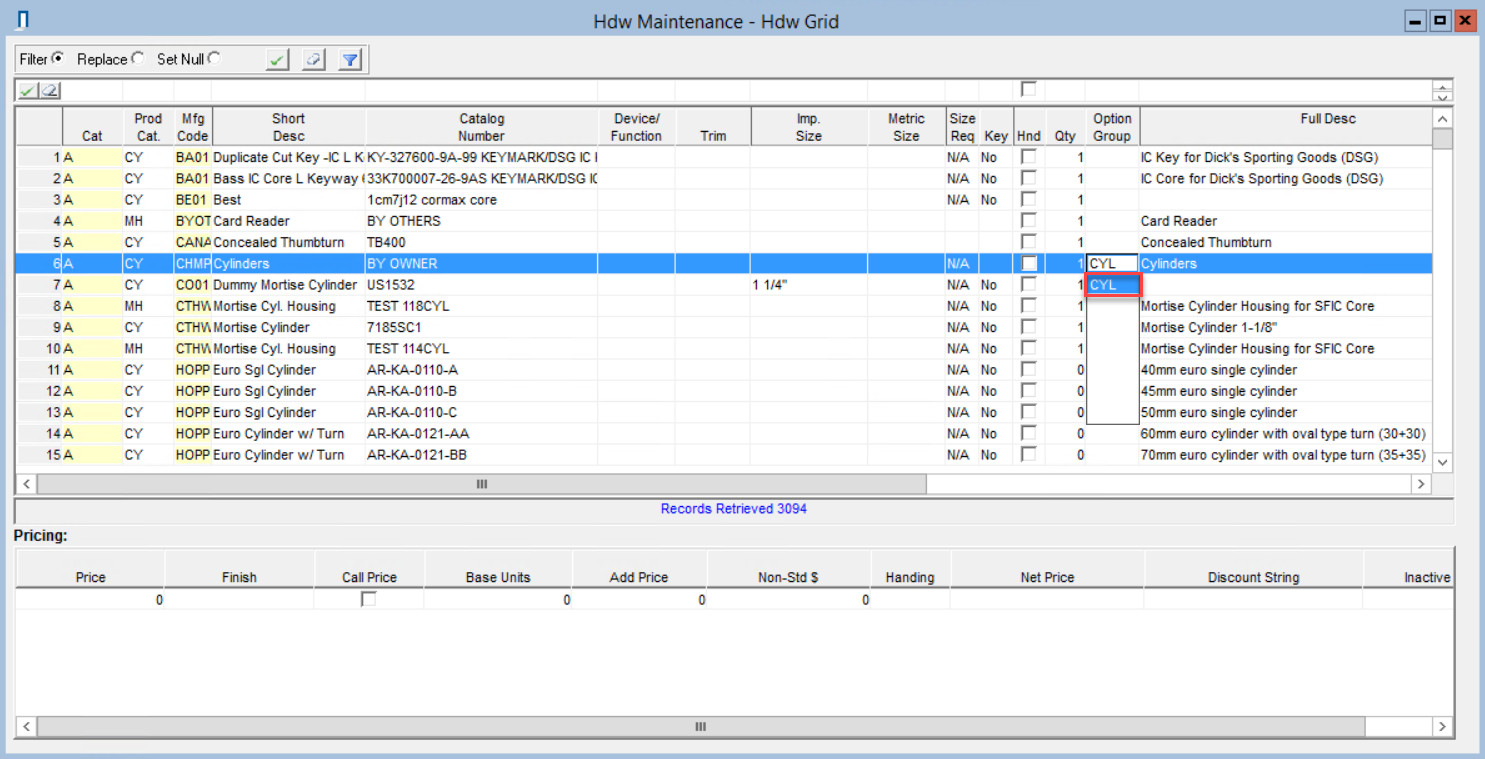
- Click Save
Your option group is now assigned to the user-maintained product.
Adding Options to the Option Group
Complete these steps using the information from the user-maintained product.
Accessing Hdw Option Grid
Advantage > Catalog Maint. > Hdw Option Grid

Filling In the Hardware Options
In the Hdw Option Grid window:
- Right-click in the Option Grid pane
- Click Add
- Fill in the new line item using the information from the user-maintained product
- Mfg Code, Option Category, Catalog Number, and set the parameters for the option
The line item now has hardware options.
Selecting the Option Group
On the new line item:
- Right-click in the Option Groups field
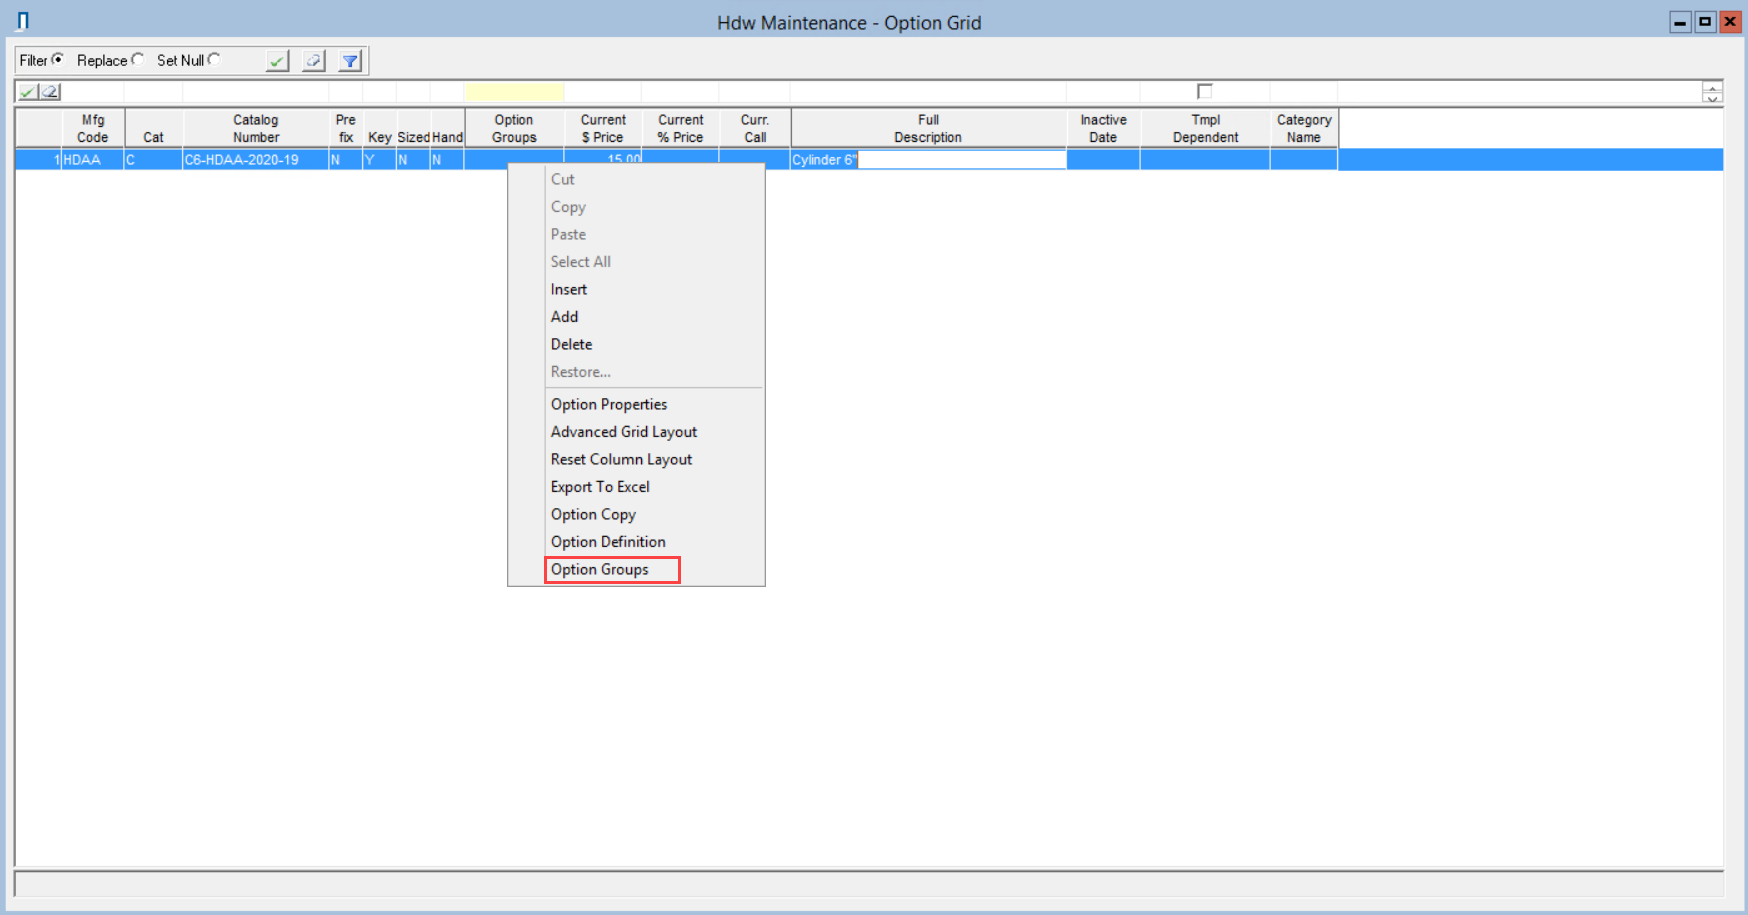
- Click Option Groups
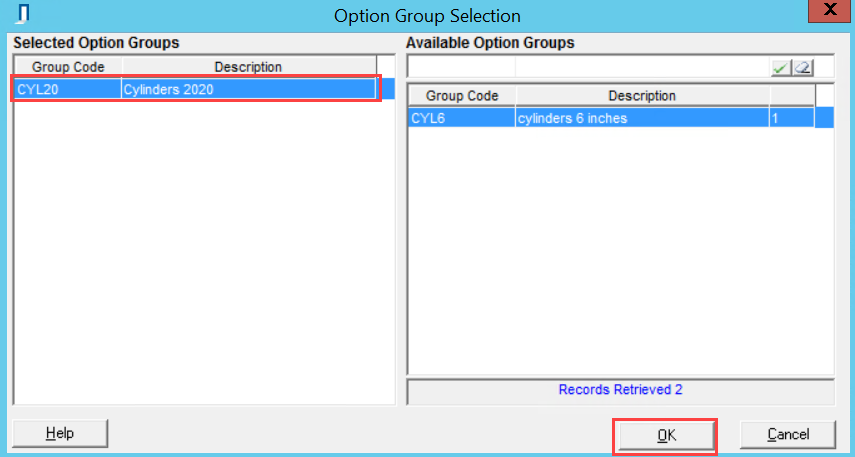
- The Option Group Selection window will open
On the Option Groups line item:
- Click & Hold the Group Code field
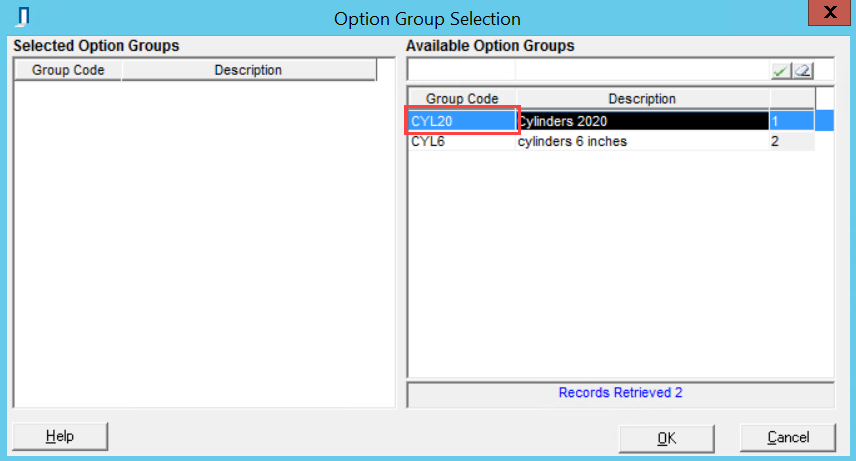
- Drag & Drop the line item into the Selected Option Groups
- Repeat steps 3-4 for any other applicable option groups
- Click OK
In the Hdw Option Grid window:
- Click Save
The option group and options now are assigned to a specific product.
Comments
Please sign in to leave a comment.