How to: Set up Comsense for interest invoices.
Environment: Comsense Advantage & Enterprise
In this article:
Creating a Product Cost Group for Interest Charges
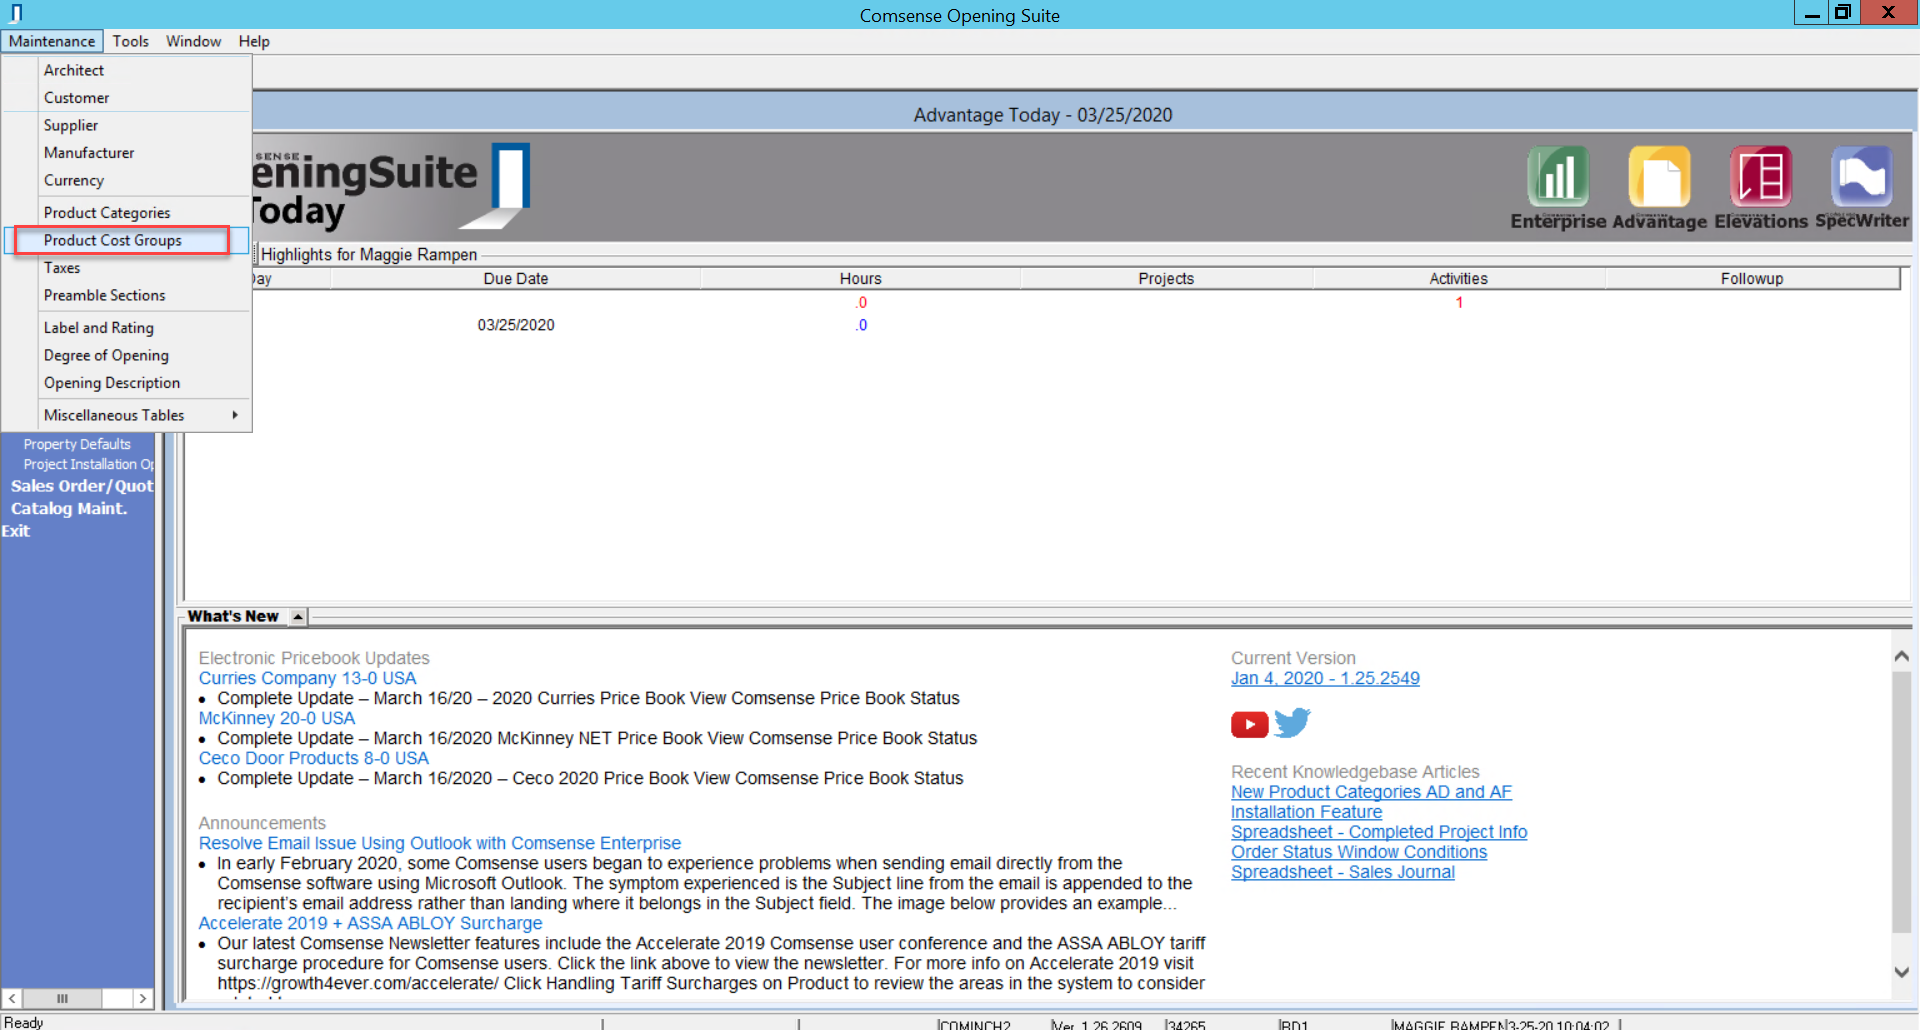
Advantage > Maintenance > Product Cost Groups
In the Product Cost Groups window:
- Right-click in the Product Cost Group pane

- Click Add
- A fillable line item will appear at the bottom of the pane
In the fillable line item:
- Type "Interest Charges" under the Name column
- Enter sort sequence number under the Sort Sequence column
- Sort sequence is the order Comsense sorts the list of cost groups in other windows
Tip: Place interest charges at the end of the sort sequence to prevent misuse of the cost group.
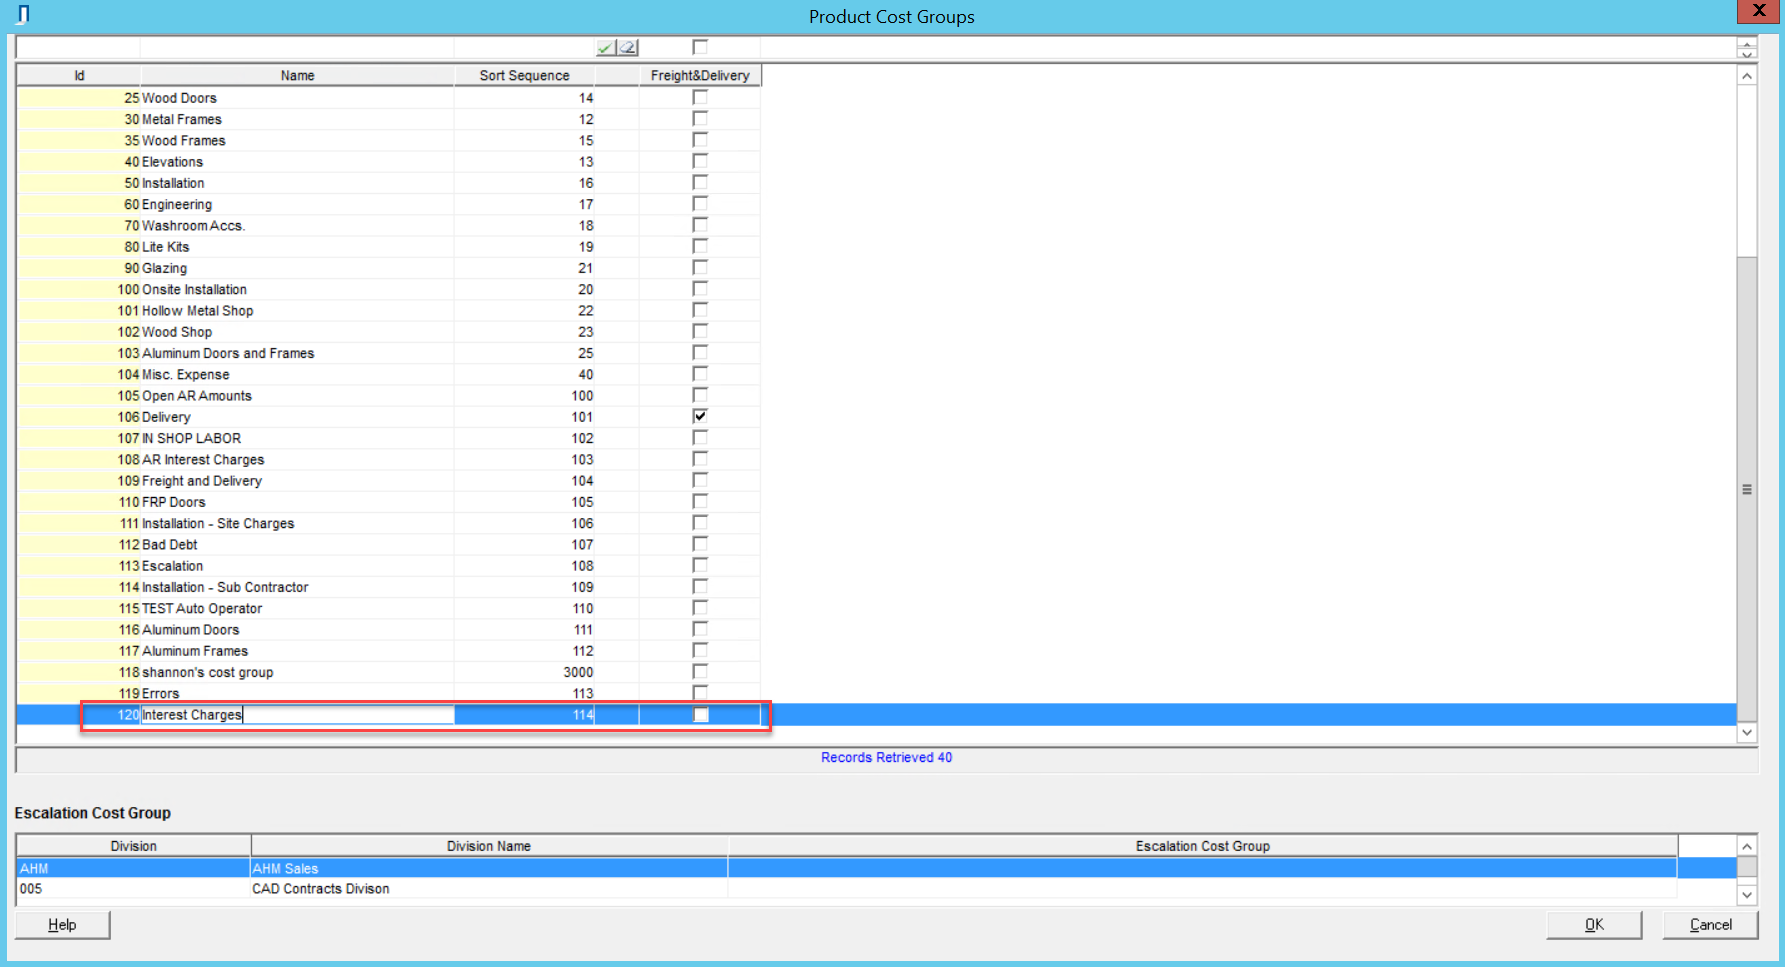
- Click OK
You now have a product cost group for interest charges.
Creating a Project Section for Interest Charges
Advantage > Tools > System Administration > Project Sections
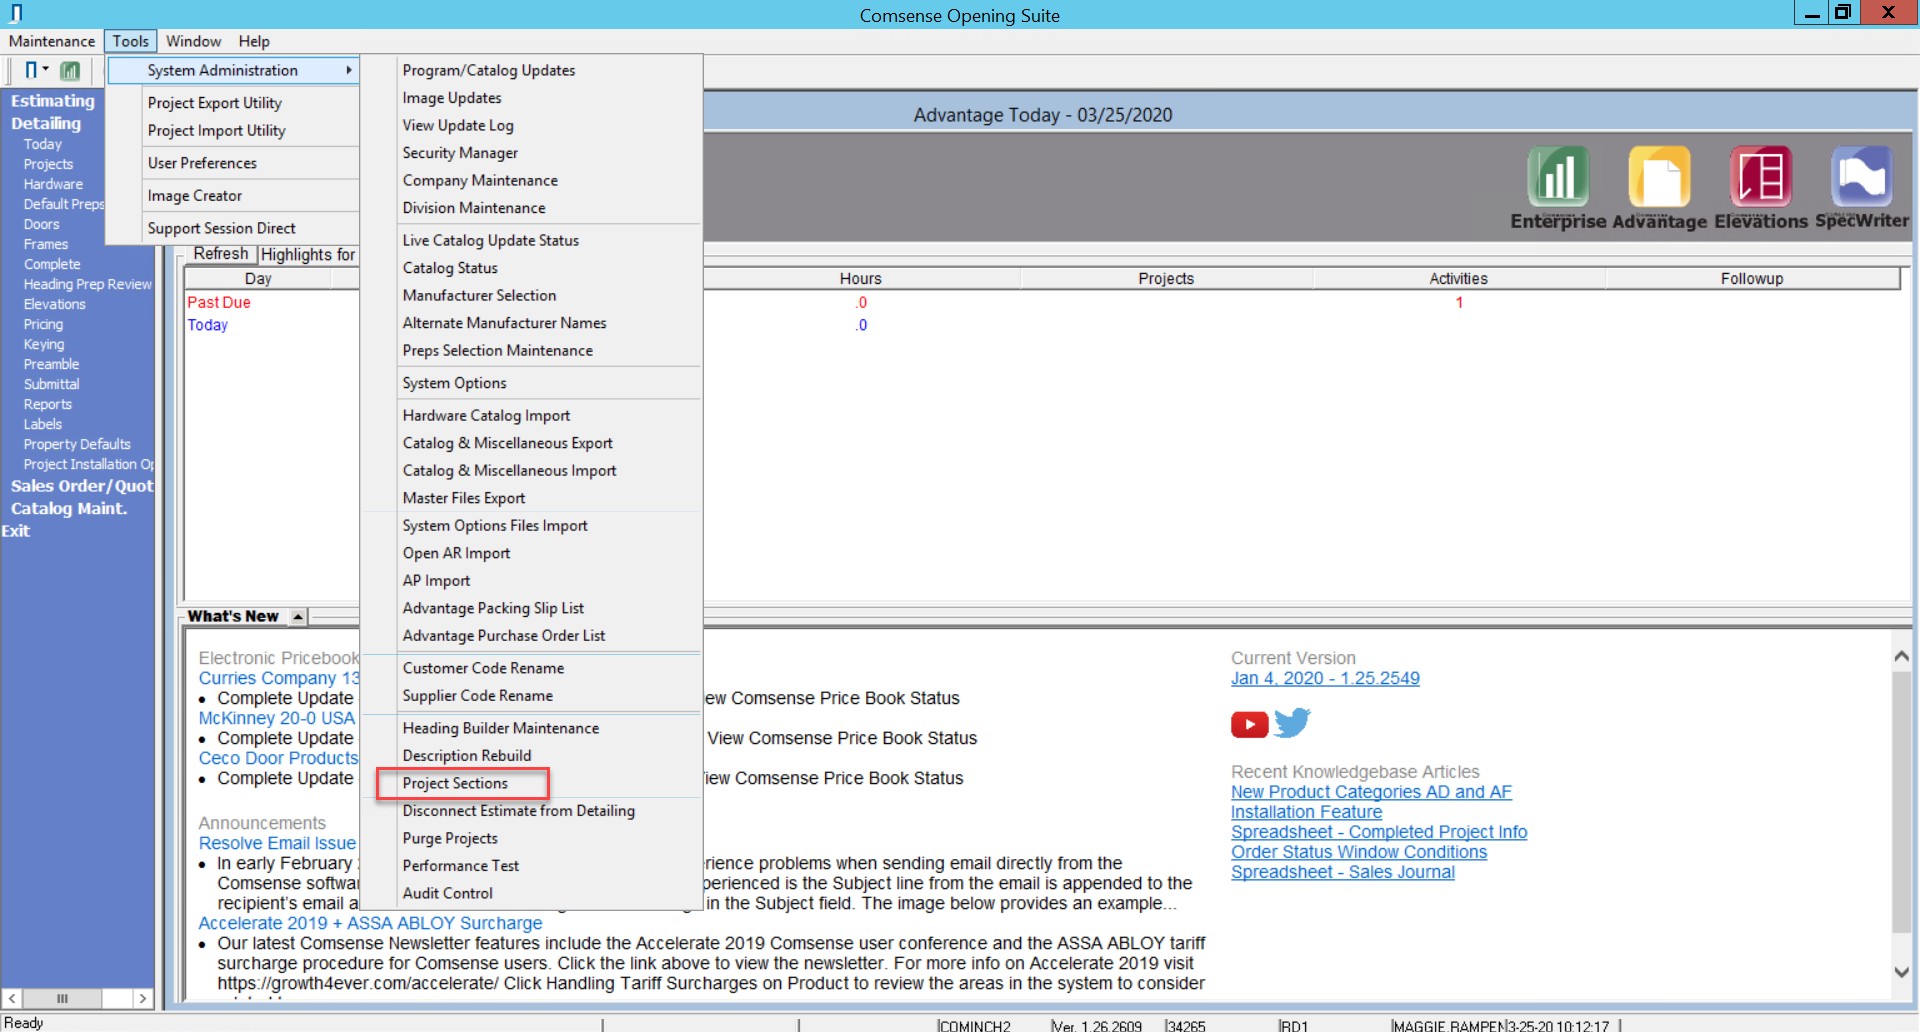
In the Project Sections window:
- Right-click anywhere in the Project Sections pane
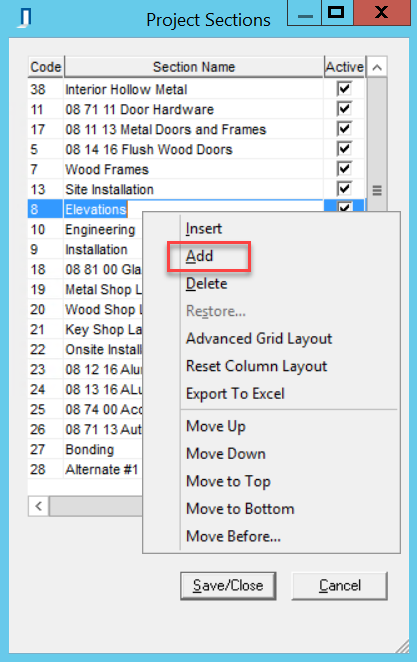
- Click Add
- A fillable line item will appear at the bottom of the pane
- Type "Interest Charges" under the Section Name column
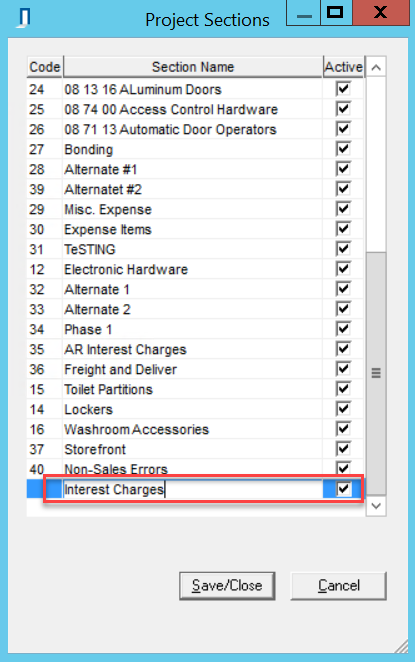
- Click Save/Close
You now have a project section for interest charges.
Assigning Accounts to the Interest Charges Product Cost Group
Enterprise > System Options > Account Assignment
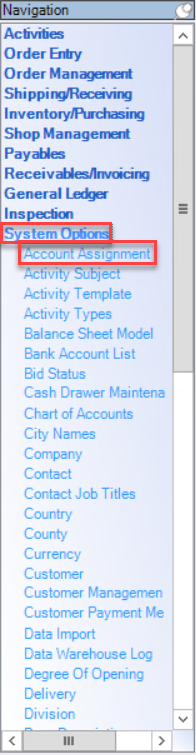
In the Account Assignment window:
- Click the Cost Group tab
- Scroll down to Interest Charges
In the Sales (Revenue) account class line item:
- Select the account
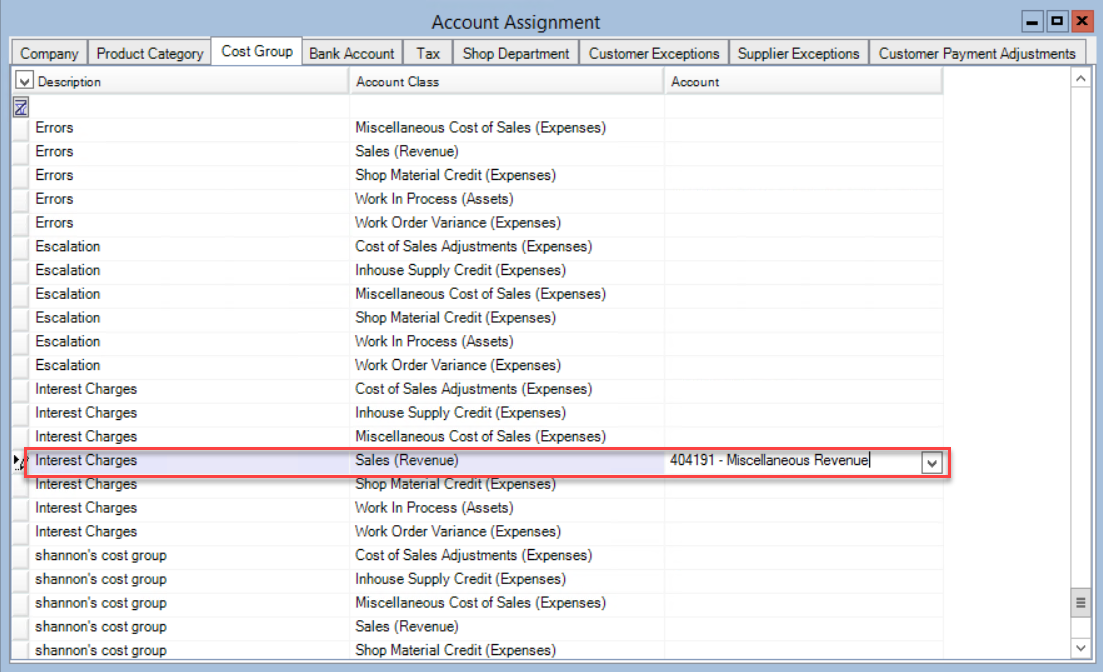
- Click Save & Close
An account is now assigned to the Interest Charge cost group.
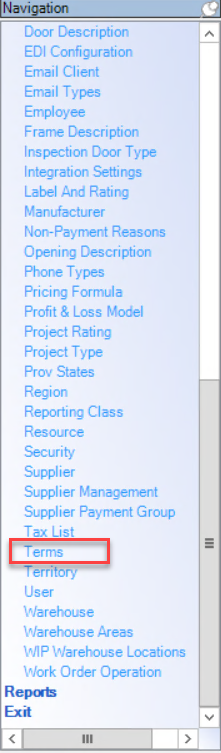
Creating Terms for Interest Charges
Customers require terms for interest charges. The terms are where you identify the number of grace days and the net days for interest invoice payment.
Enterprise > System Options > Terms
Interest terms do not require you to fill in every field. See the table below for the required fields.
| Column | Description |
|---|---|
| Net Days | Number of days to pay full invoice from the invoice date |
| Net Day of Month | The day of the month a customer must pay the invoice |
| Grace Days | The set number of days after an invoice payment is due where you do not charge interest |
In the Terms List window fillable line item:
- Type "Interest Terms" under the Name column
- Make the name more specific if needed
- Enter net days or net day of month
- Enter grace days
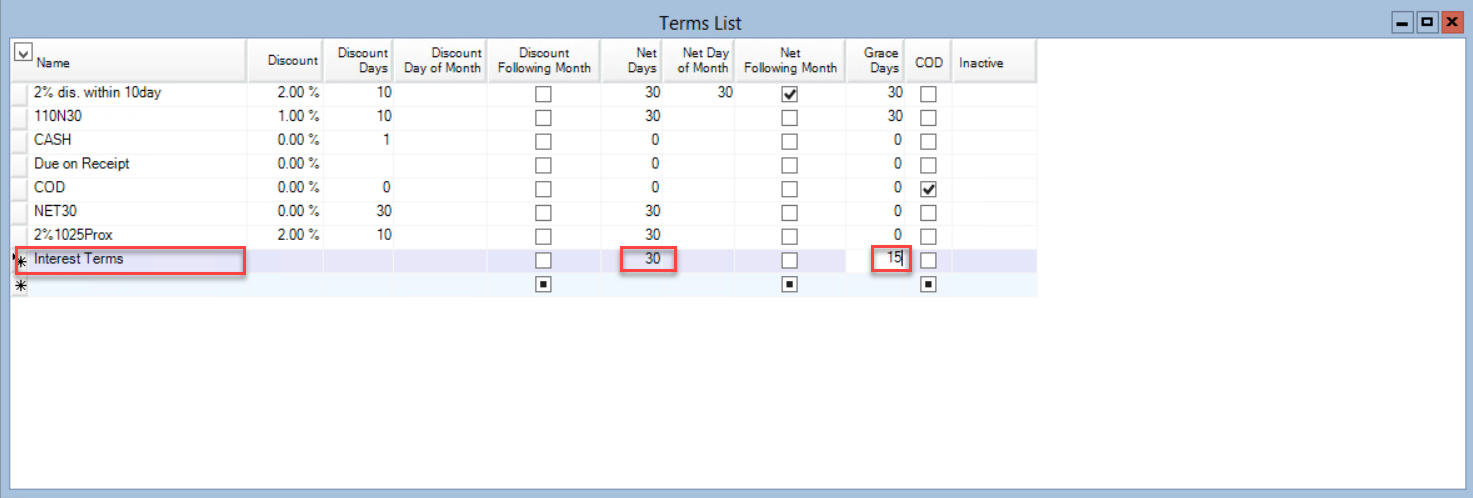
- Click Save & Close
You now have interest terms for the customer.
Setting Up Customers for Interest Charges
You can set up customers individually or apply the interest terms to multiple customers at a time.
Individual Customers
Enterprise > System Options > Customer

In the Customer window:
- Open the customer
- Click the Profile tab
- Select the
- Interest terms
- Interest section
- Interest cost group
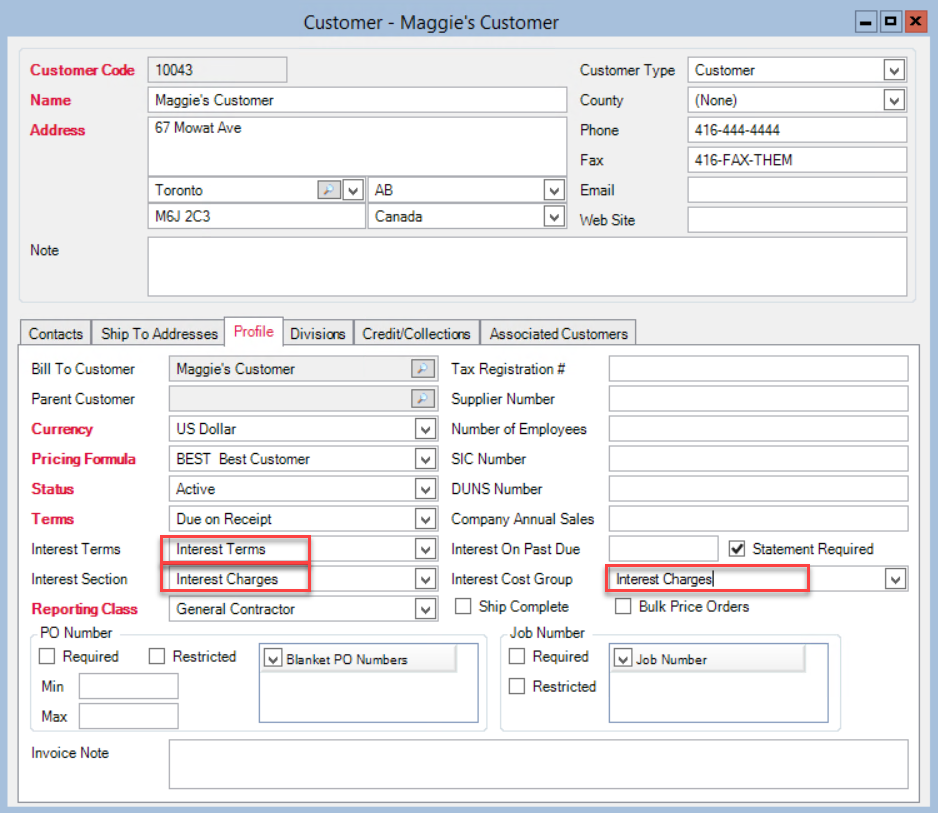
In the Interest On Past Due field:
- Enter the annual interest rate
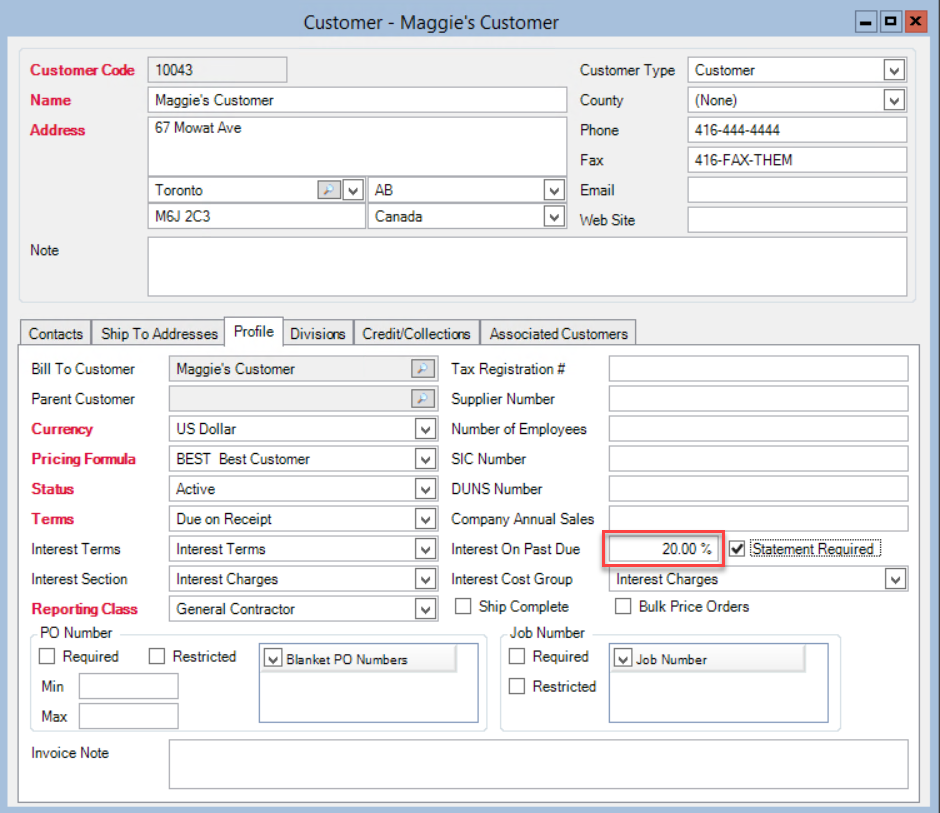
- Click Save & Close
The individual customer is can now receive for interest charges.
Multiple Customers
*Note: Be very careful to use the correct row when using the filter and replace function to update multiple line items! Remember that the first line item is the Filter line item and the second line item is the Replace line item.
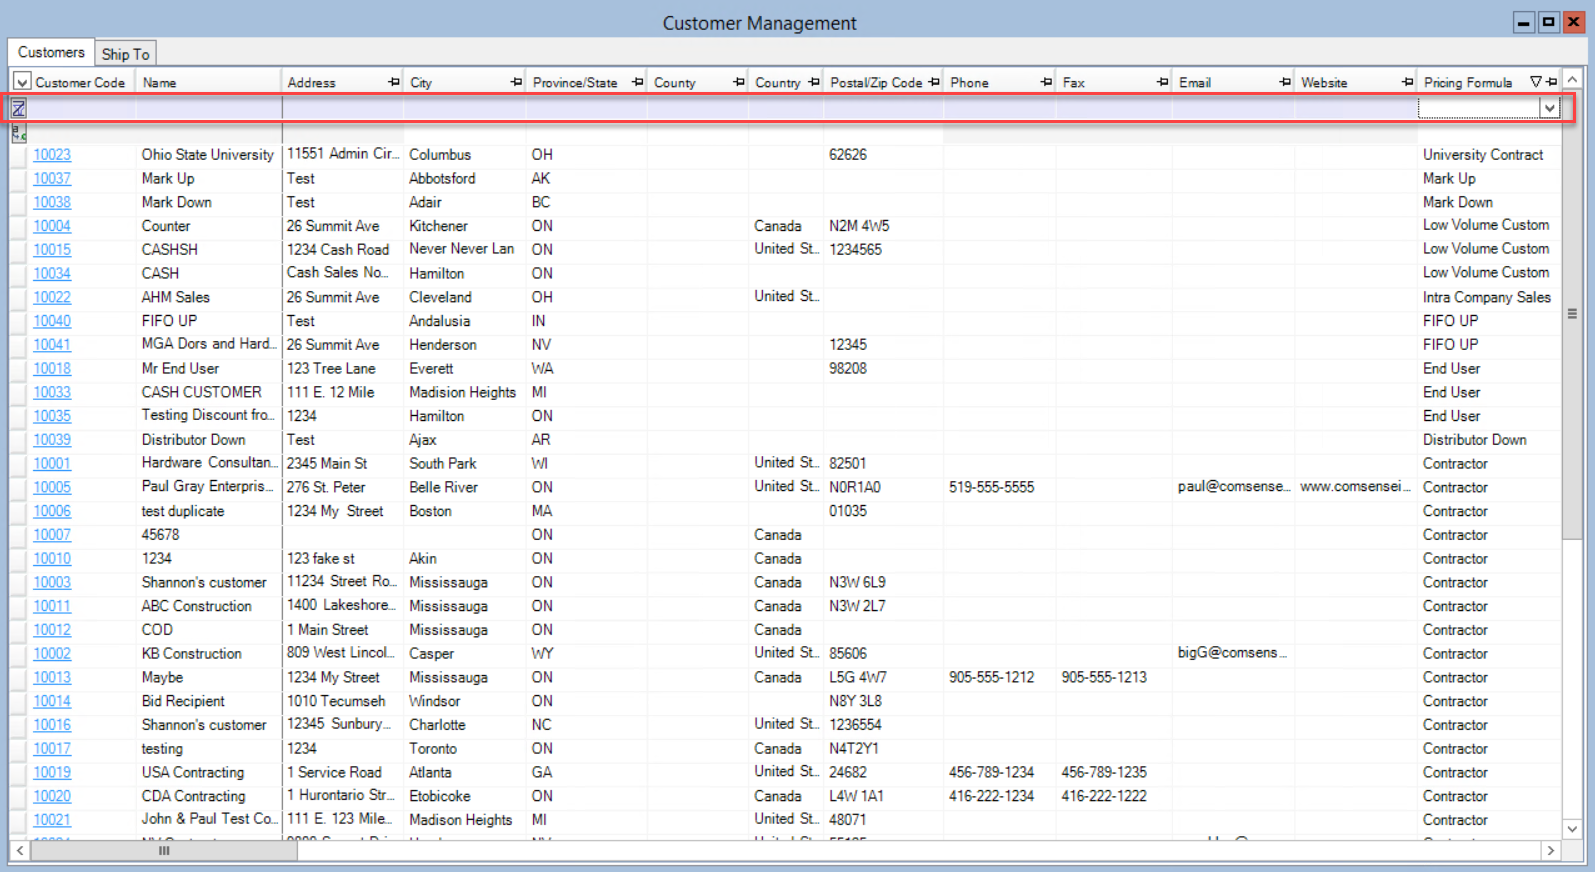
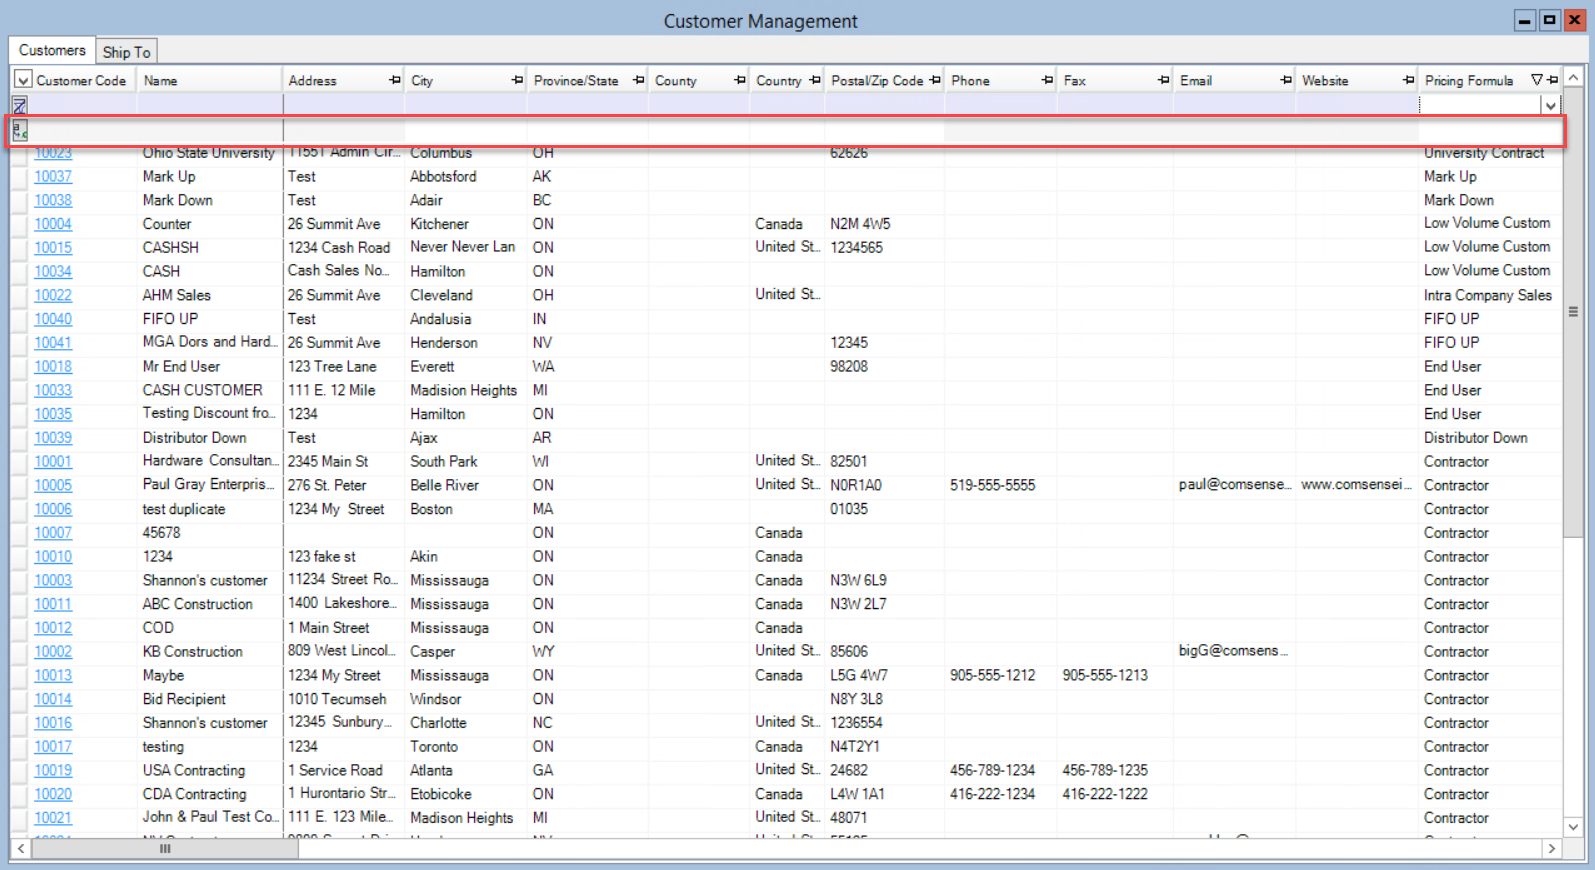
Enterprise > System Options > Customer Management
In the Customer Management window Customers tab:
- Filter using any of the headings
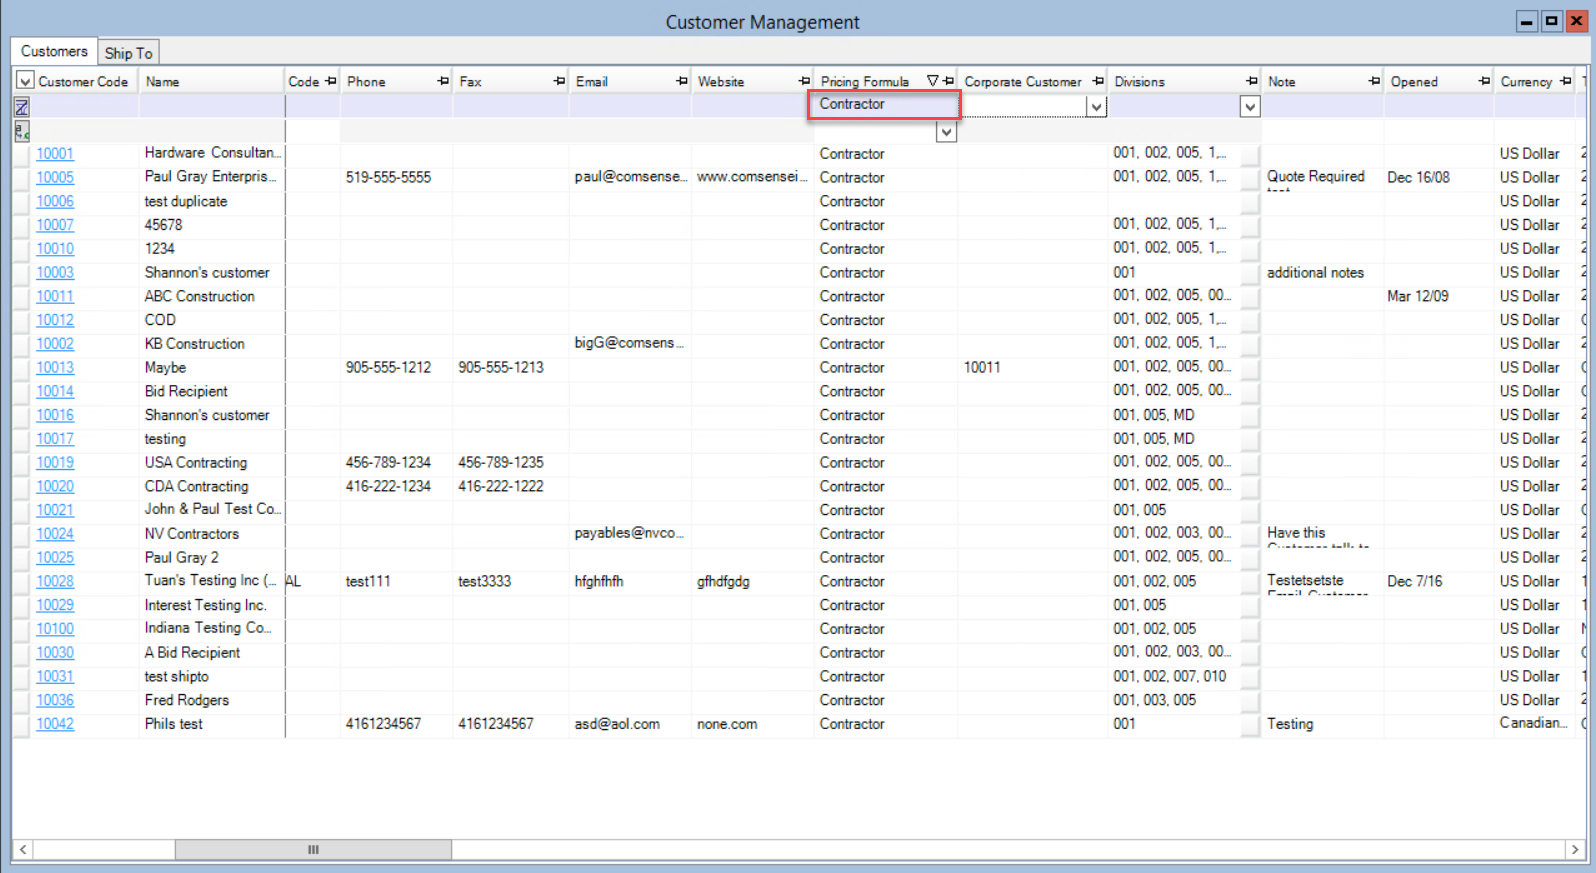
In the Replace line item:
- Select the:
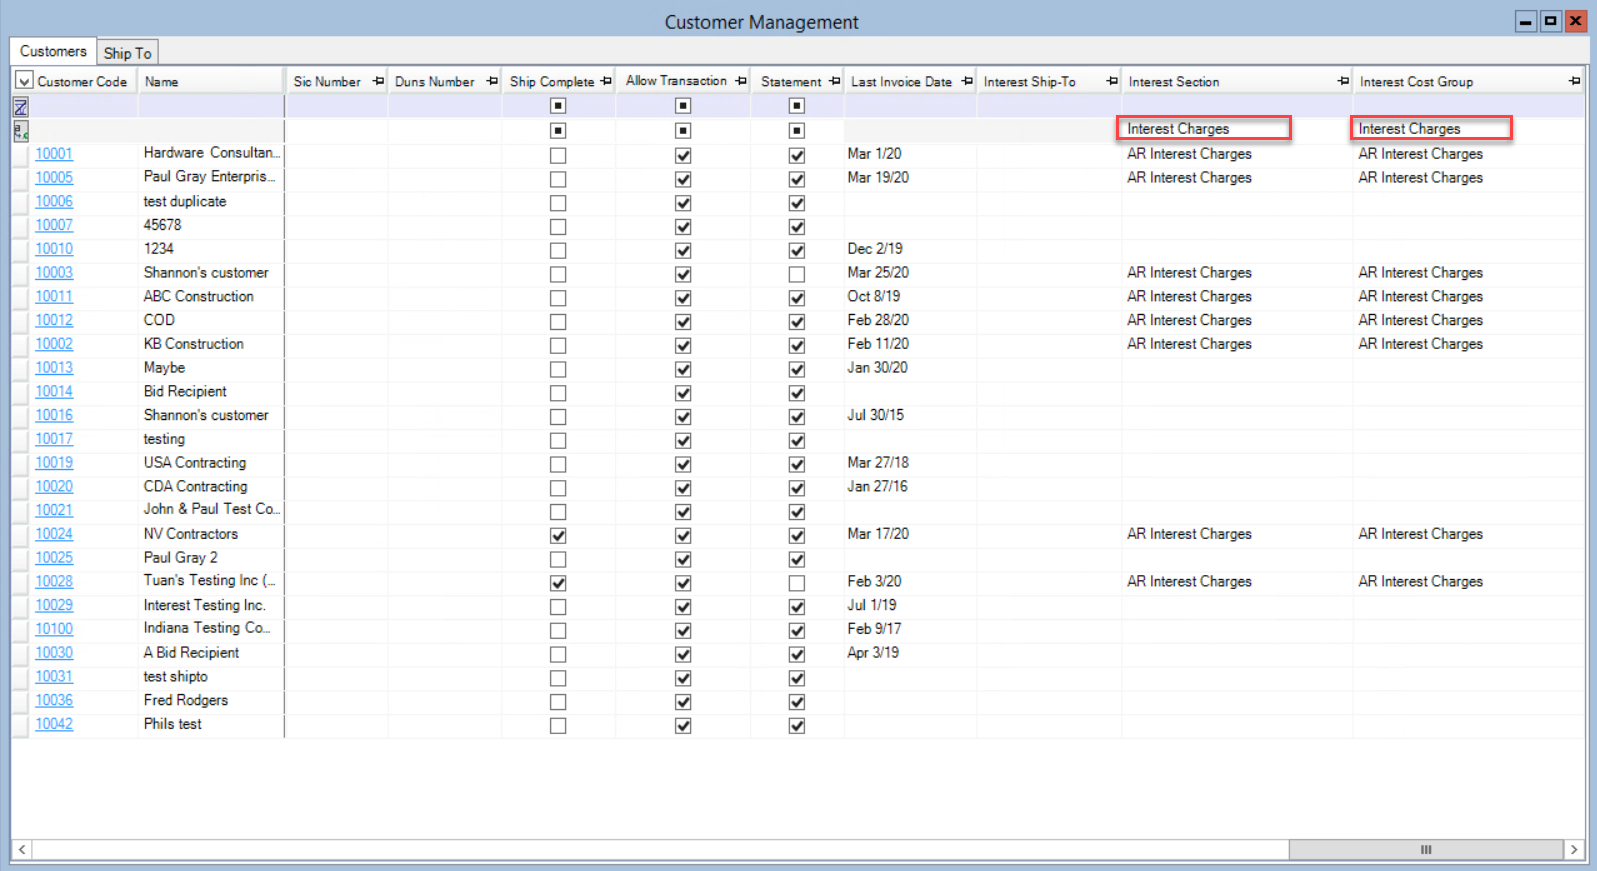
- Interest section
- Interest cost group
In the Interest Past Due column:
- Enter the annual interest rate
- Select the interest terms
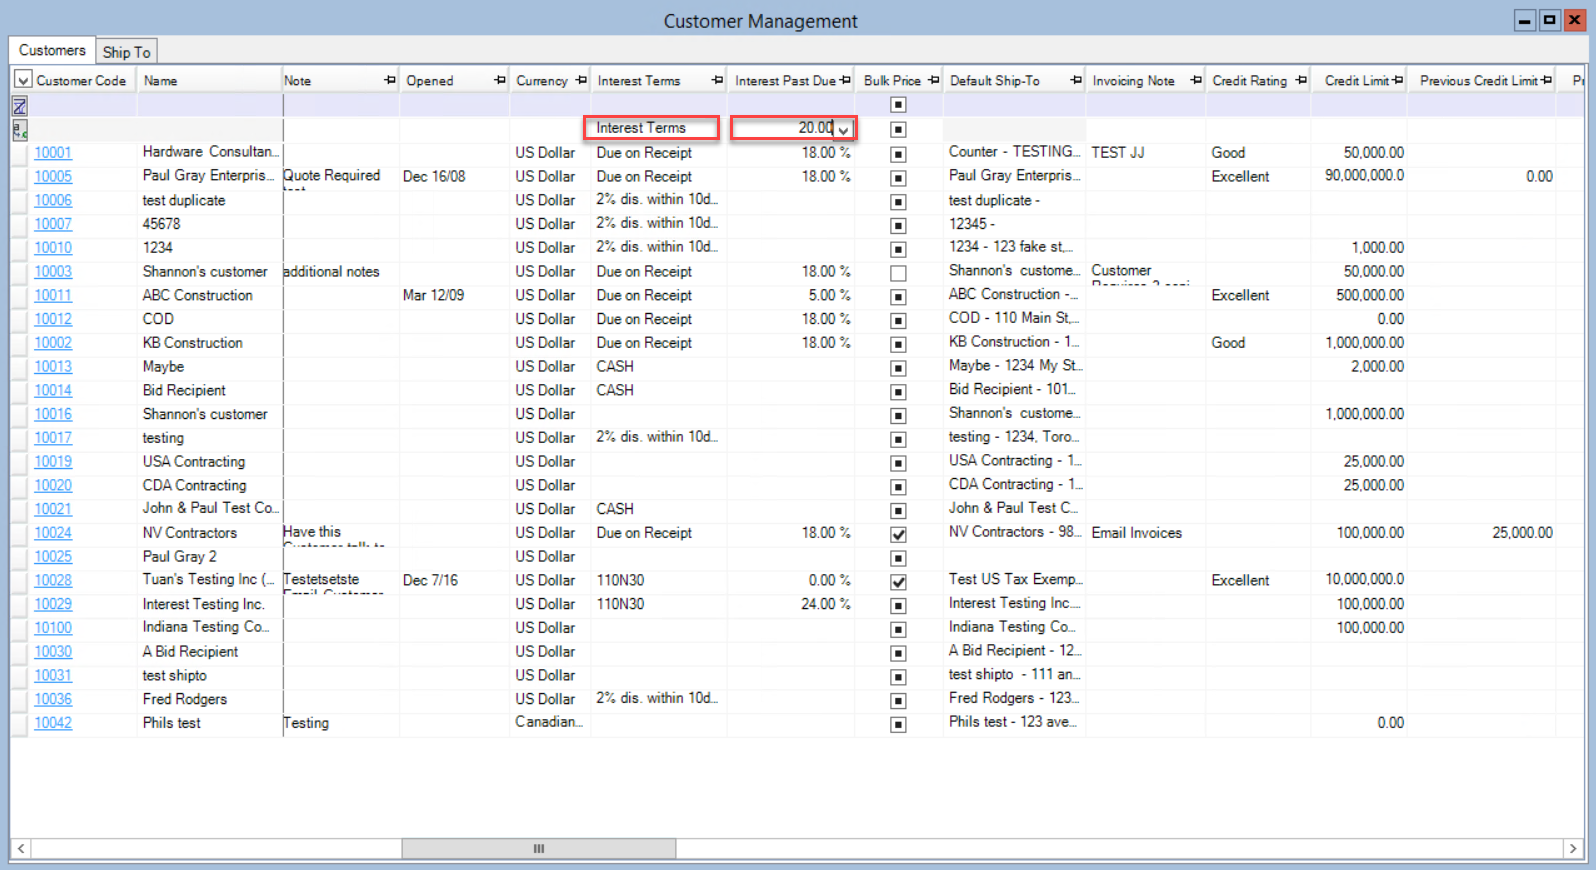
- Click the Replace icon

- Click Save & Close
These customers can now receive for interest charges. You can now Invoice Interest Charges.
Comments
Please sign in to leave a comment.